Lansdowne Damper Upgrade
I've had my bike for over 10 years and have never done much with forks. I knew I needed to go through them, but just didn't get around to it. Further, I've known my tubes were rusted and pitted and probably leaked. Somehow ignoring them didn't make them work better - so I decided to renew everything and throw in the Lansdowne fork dampers too. Folks on accessnorton really seemed to like them. (See http://www.accessnorton.com/lansdowne-fork-damper-kit-t4683.html)
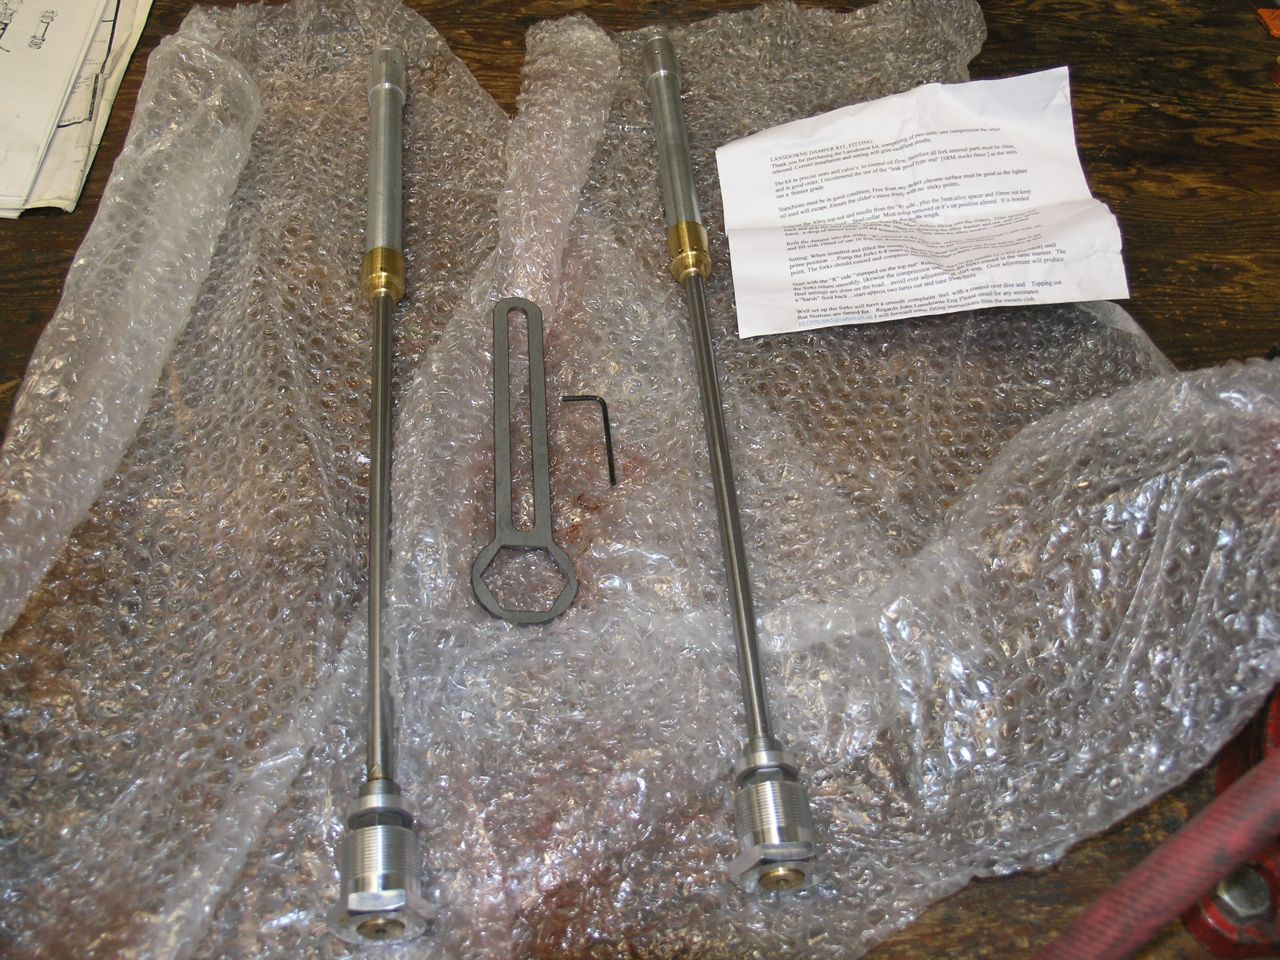
I contacted the maker of the dampers, John Bould of Lansdowne Enginnering (www.lansdowne-engineering.co.uk). He promptly replied and inidcated it would be about 8 days before they could be shipped from England. OK with me - so a few weeks later they arrived. My initial impression was - they are art, really nicely made. The accompanying instructions, although short, were more than complete. Additionally, I received a custom wrench for the top nuts and the small allen key to adjust the damping rate. Cool. I was sad they would be installed in such as way as you'll never see 'em. Maybe it's just as well - it would force me to redo the whole bike to a new level!
The first step is to remove and tear down the forks.
Section G3 - Removal of Front Forks
Section G4 - Dismantling Fork Leg
Now transfer the springs to the new dampers. Check spring length - should be 18.675". John recommends you use the stock springs, the progressives are too stiff.
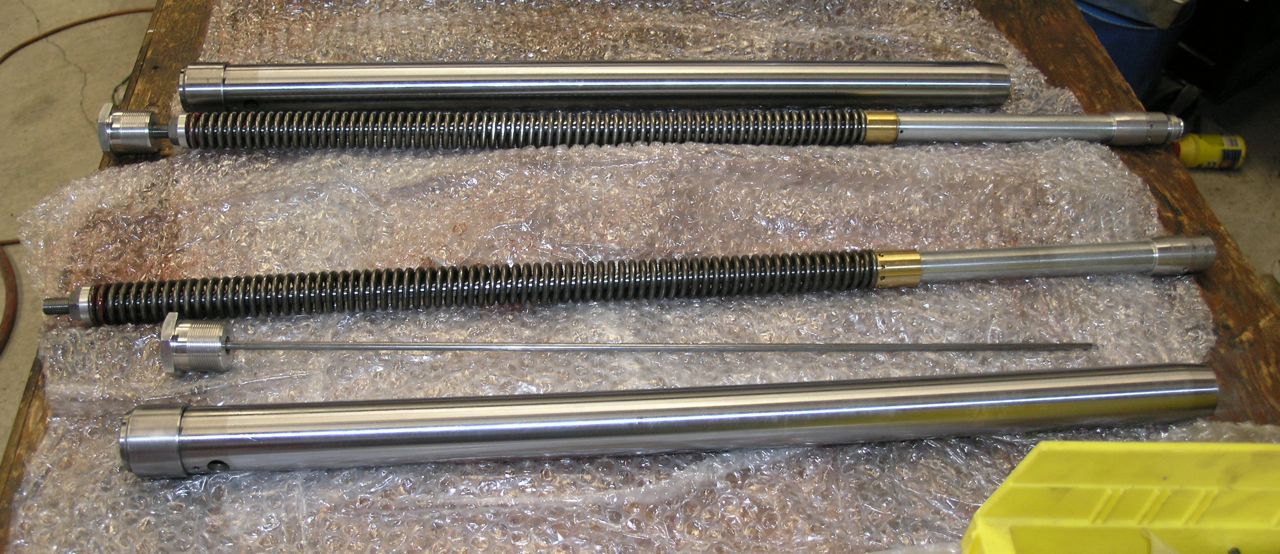
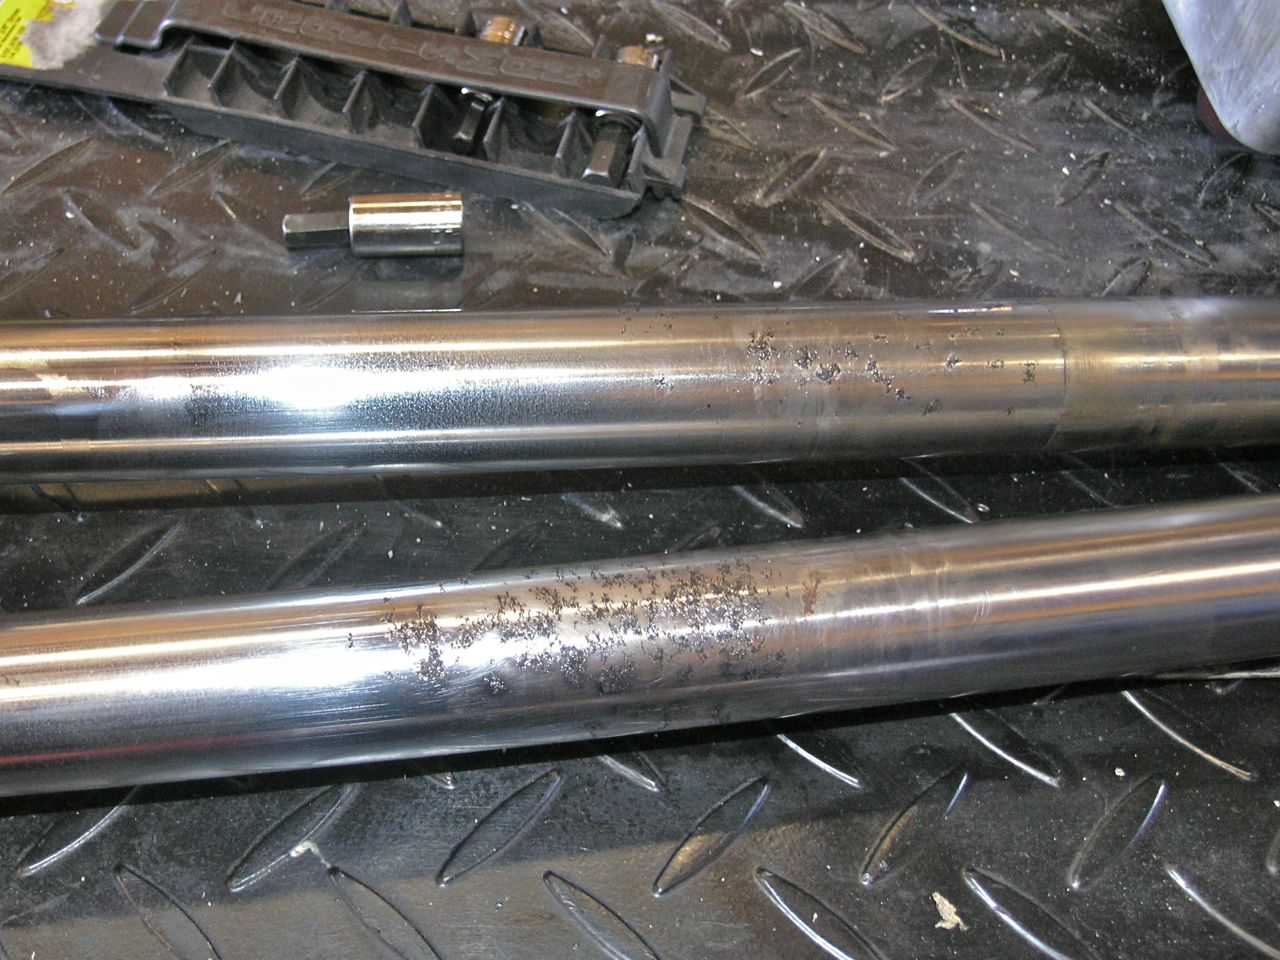
I needed new fork tubes as my old ones were rusted and pitted.
I also purchased new lower steel bushes. As it turned out the new ones were about 0.0005" larger in diameter than the old ones. One fit great in my slider, but the other bound up on the last 0.5-0.75 inch of travel. I tried one of my old ones and it worked perfectly, so I used one old one and one new one.
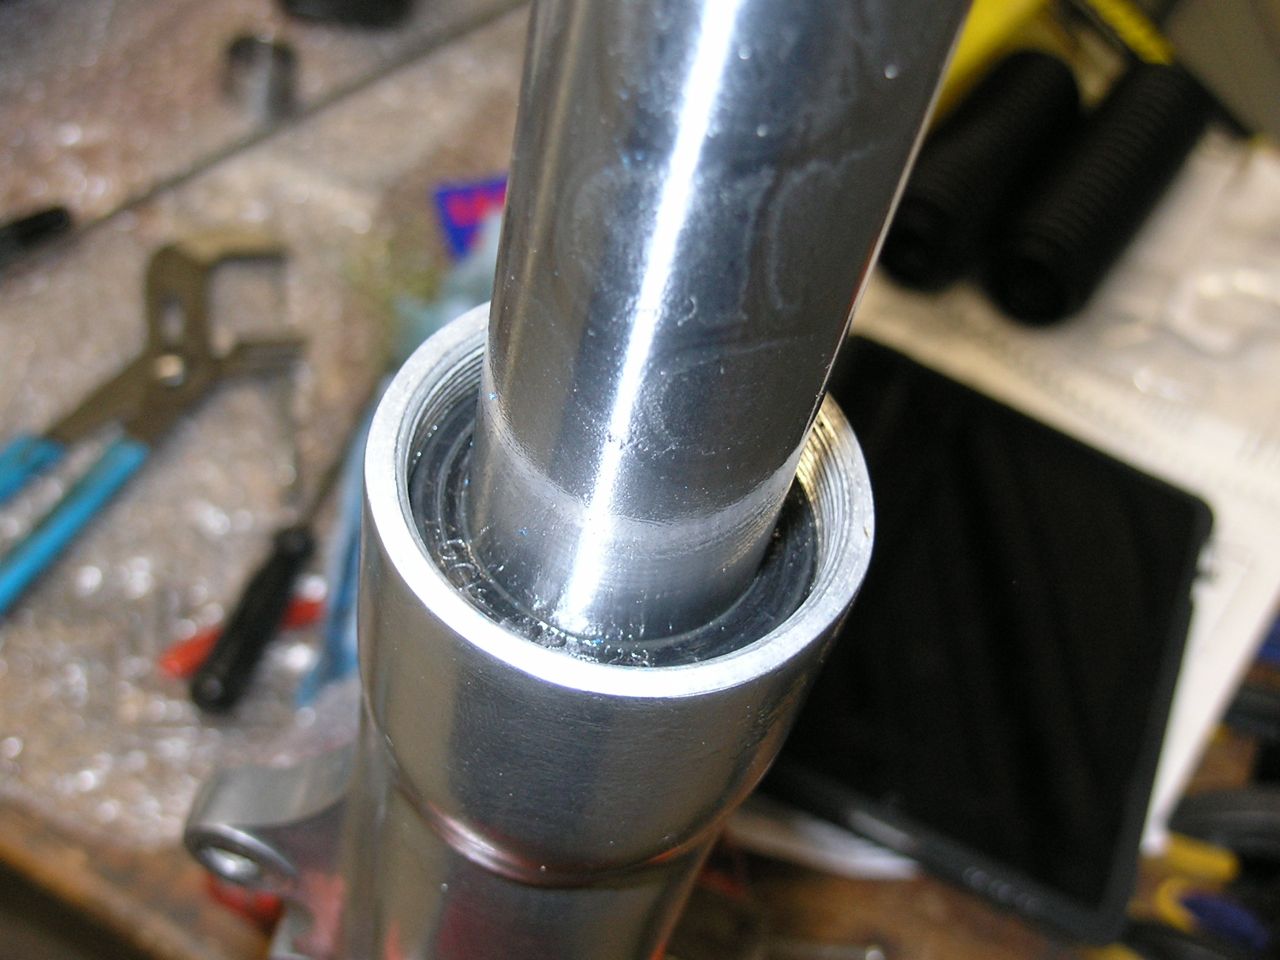
After mounting the lower bushings on the new tubes, I placed a tube in the slider and then popped in a new bronze upper bush. Use plenty of fork oil upon assembly.
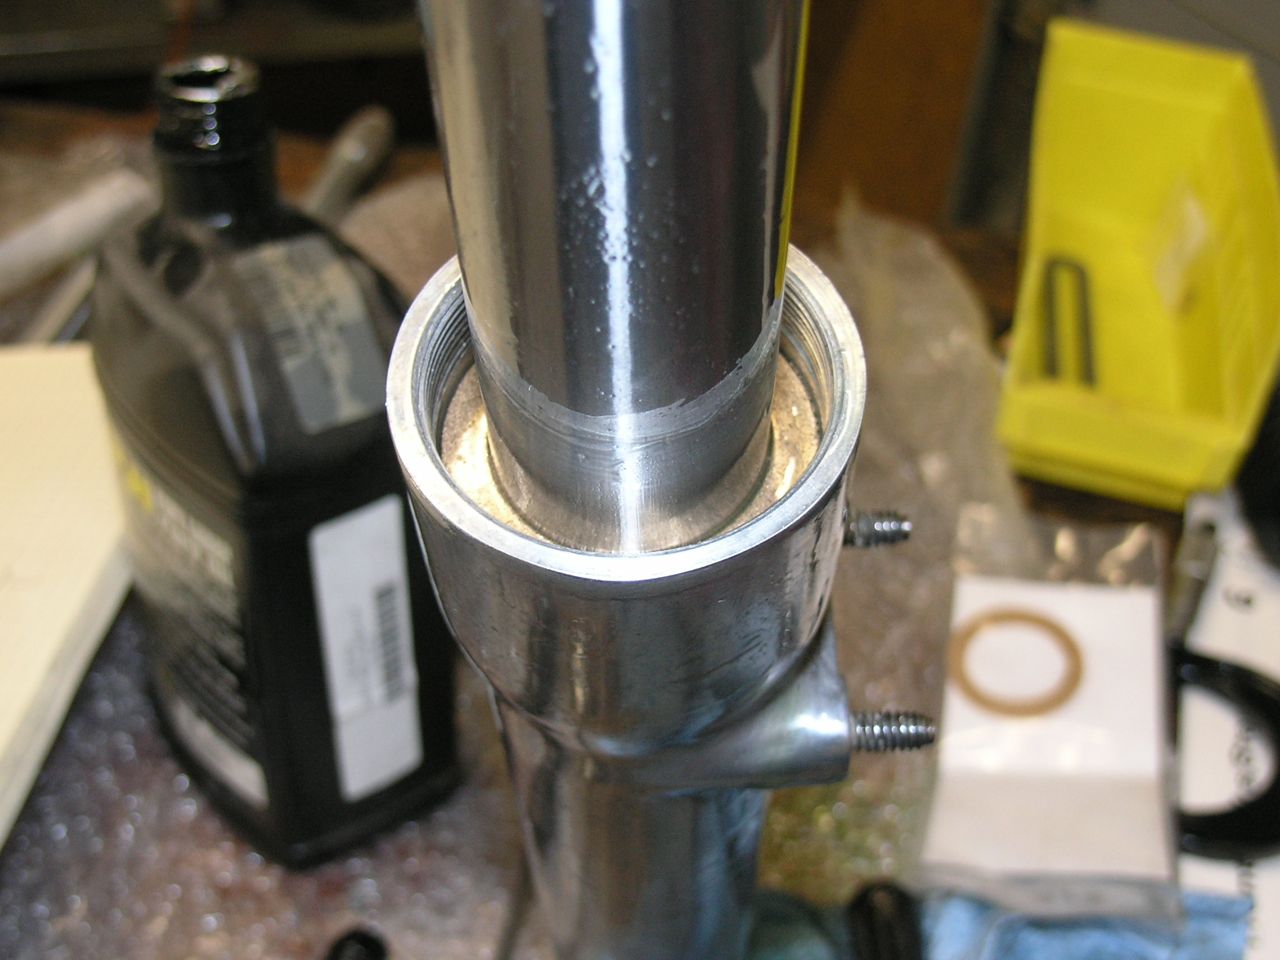
At this point I feel a bit lucky. The new top bushes went in nice and easy (both sides) and the fork tubes slid nicely, not too tight or loose. I didn't have to fettle anything. This, of course, makes me wonder what went wrong. I'm hoping it's luck not something else.
New paper gasket, then a LeakProof Seal
Now add the top collar. I modified my collars to have a hex nut (Idea shamelessly stolen from OldBritts). Another mill/rotary table operation!
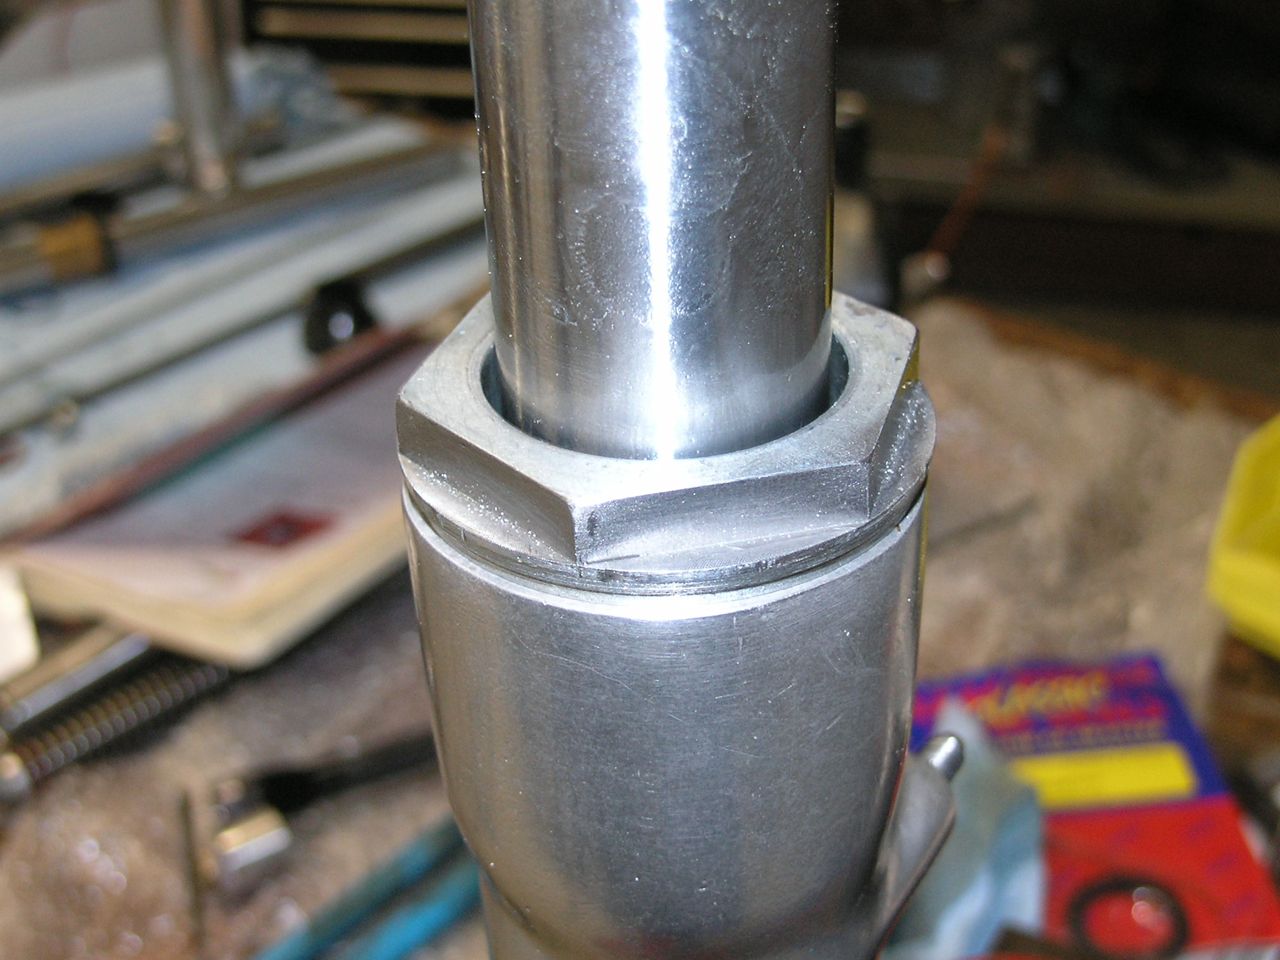
Once that was back together, I inserted the new dampers. Don't forget the fiber washer at the bottom.


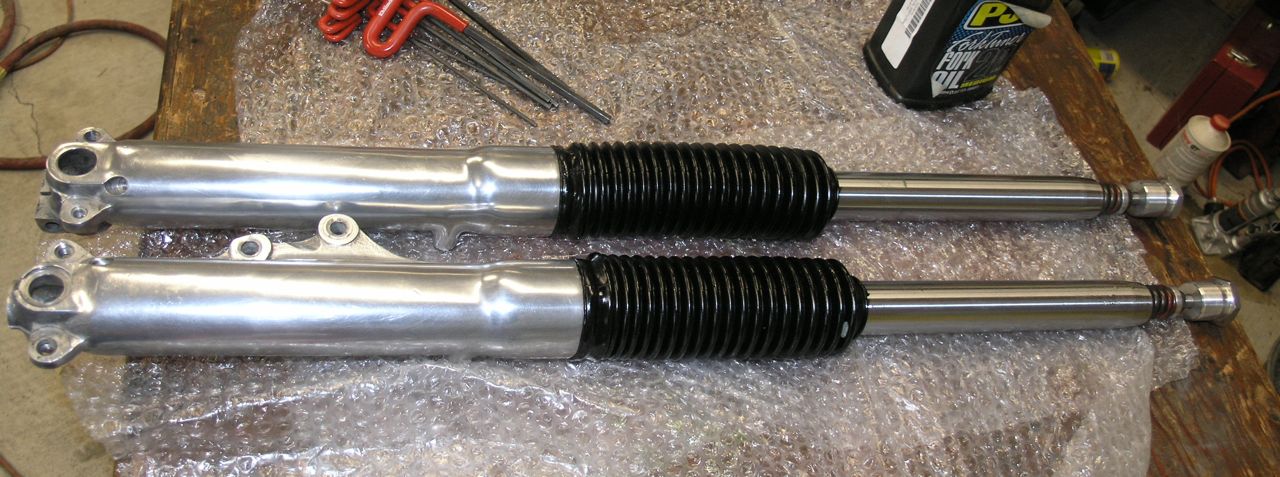
The Lansdowne kit uses a socket head for the anchor bolt. Really nice. Installed the gaiter and presto - two rebuilt fork legs!
Now to remount them on the bike.
Section G8 - Refitting Front Forks
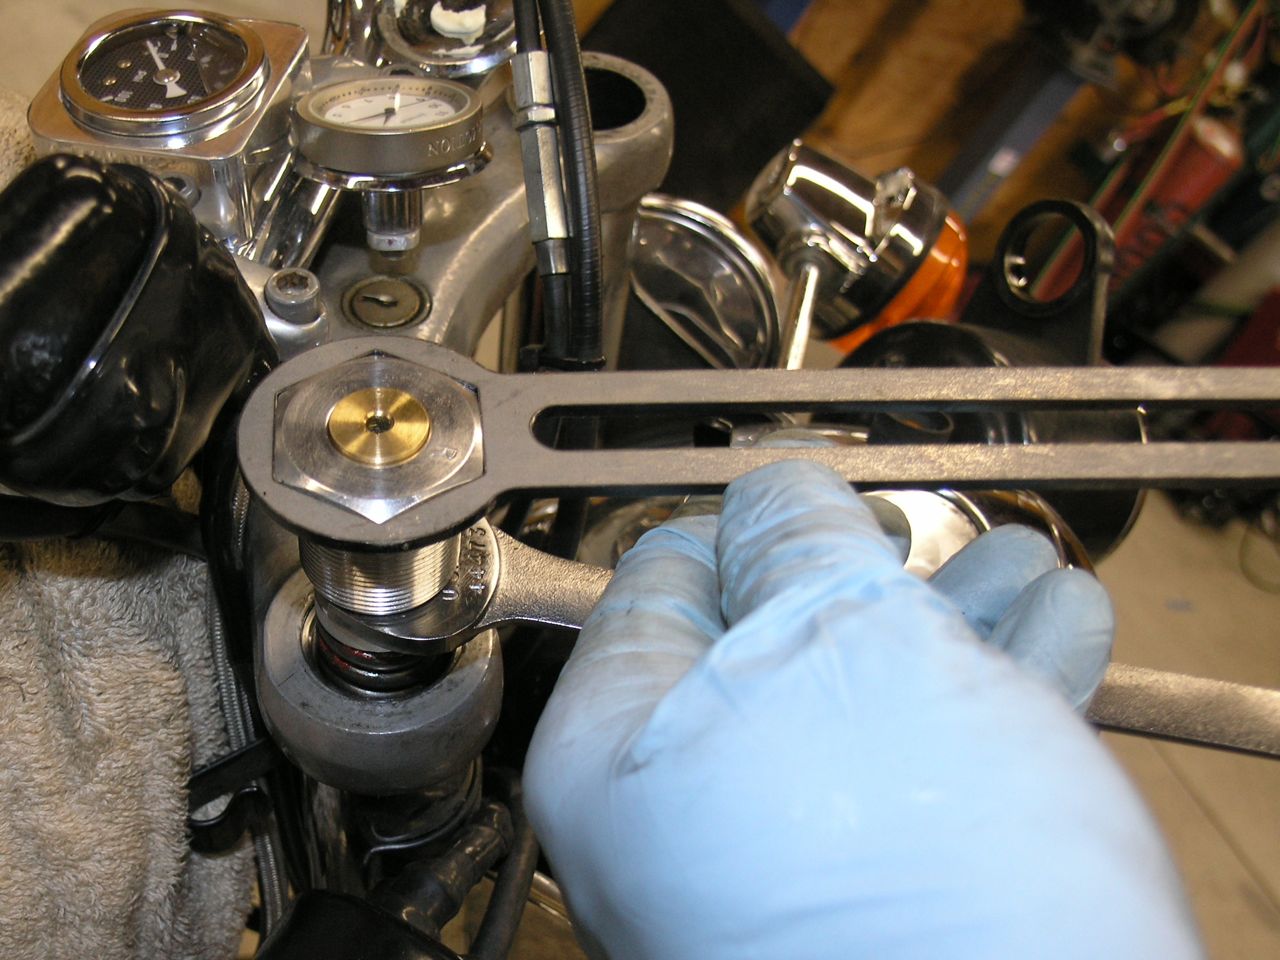
Picture of the nice wrench supplied in the kit.
After bolting up the front end, you open the valves on the new dampers several turns, pump the legs to prime the system, then close down the valves to your liking. I used the recommended one turn out on each as a start point. I think I'll need to close the rebound leg a bit more to slow down the rebound rate, but so far so good.
I've put about 10 miles on the new dampers. The transformation is amazing. My bike has never handled so crisply and smoothly. The front brake even works better (I guess there is a lot less dive when applied.) I'm impressed. Also, the design allows you to dial in the damping rate you want - so they are very user friendly. What a great upgrade.
Parts needed:
| Qty | Part No | Description |
| 1 | Lansdowne Fork Kit | |
| 2 | 000203 | Level Bolt Fiber Washer 1/4" |
| 1 | 065483/LP | Leakproof Fork Oil Seal Set |
| 2 | 067514 | Fiber Washer |
| 2 | 067519 | Lower Fork Bush |
| 2 | 067520 | Fork Seal Paper Gasket |
| 2 | 067521 | Upper Fork Bush |
| 2 | 067636 | Fork Bush Circlip |
| 2 | 065743 | Fork Gaiter 1 1/4t 1 3/4"b. 7 1/2 |
| 2 | 063423 | Fork Tube, 35mm, Commando, 23 1/8" |