C25 - Servicing the Oil Pump
Remove the oil pump as in Section C16. You determine the condition of the oil pump by evaluating the end float of the oil pump pinions, most easily felt by movement of the oil pump driving gear relative to the pump body. When worn, the tendency is for the pinions to wear into the pump end covers. The only way to remedy this is to take off the covers and flatten down the pump body.
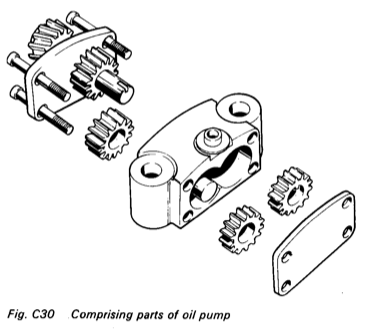
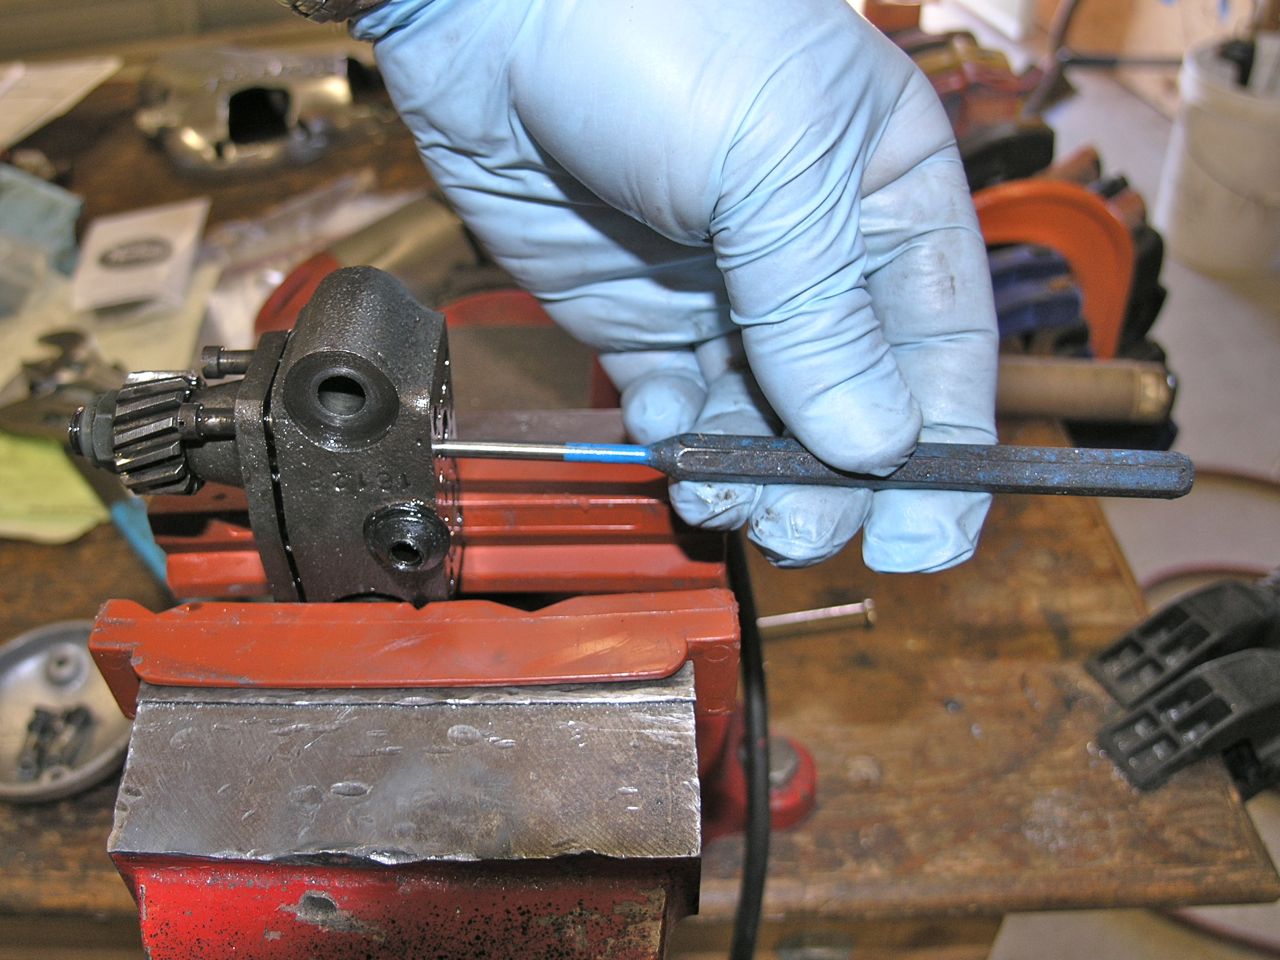
1) Detach the pump top covers and drive gear with drive spindle by tapping the spindles through the keyed pinion with a drift. The rest of the parts can be easily removed from the body.
2) Clean and inspect all components thoroughly.
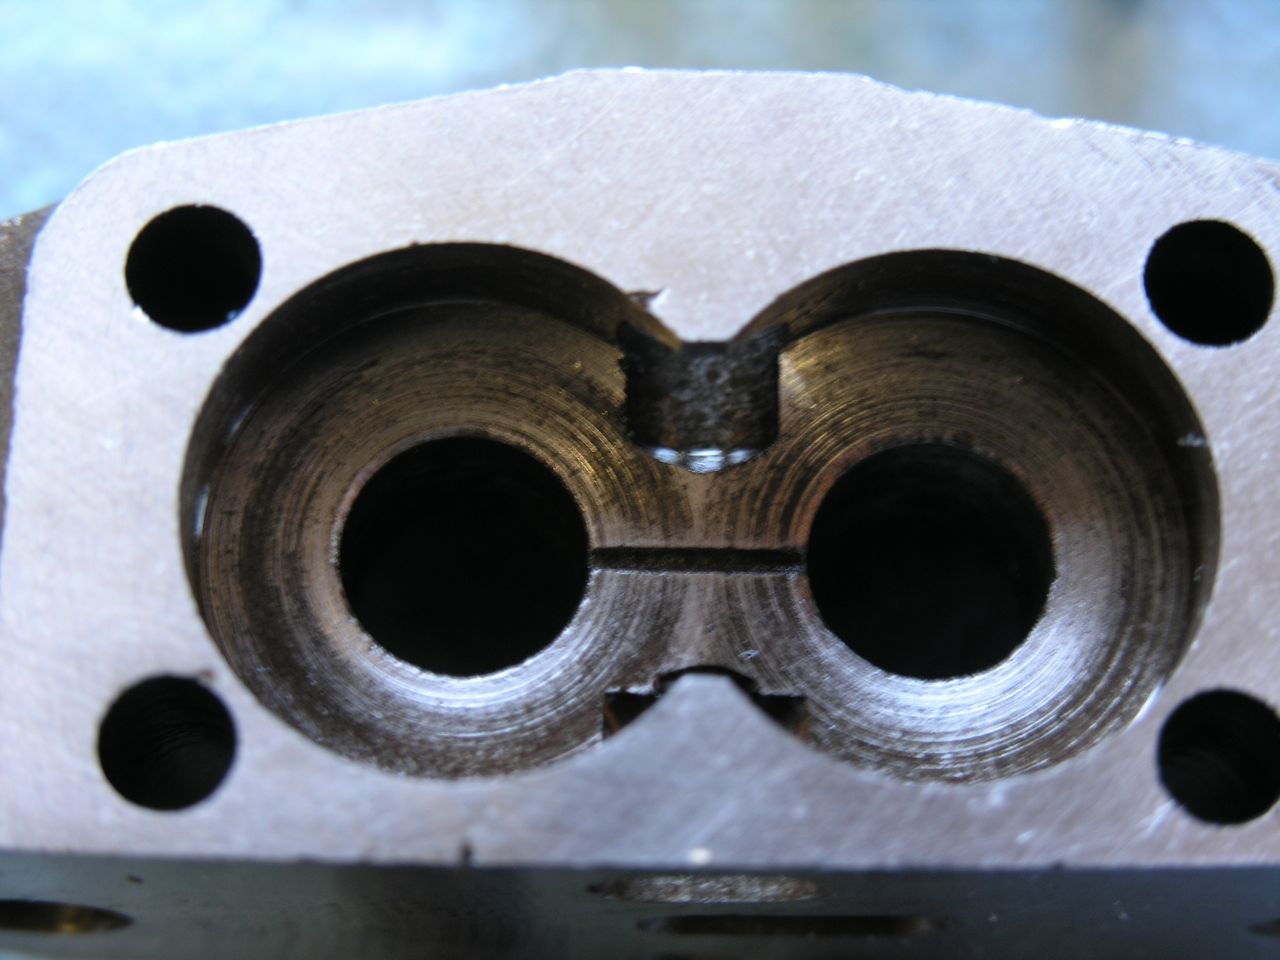
My pump is showing signs of wear and/or abuse. You can see some pretty good scoring at the bottom of the gear voids. Also my pump gears where nicked and chew up a bit. There were also score marks in the brass cover. All in all I would rate this a B- pump. I run an oil pressure gauge, so I know it's OK, but it could be better. At over $450 for a new one however, this one will be just fine.
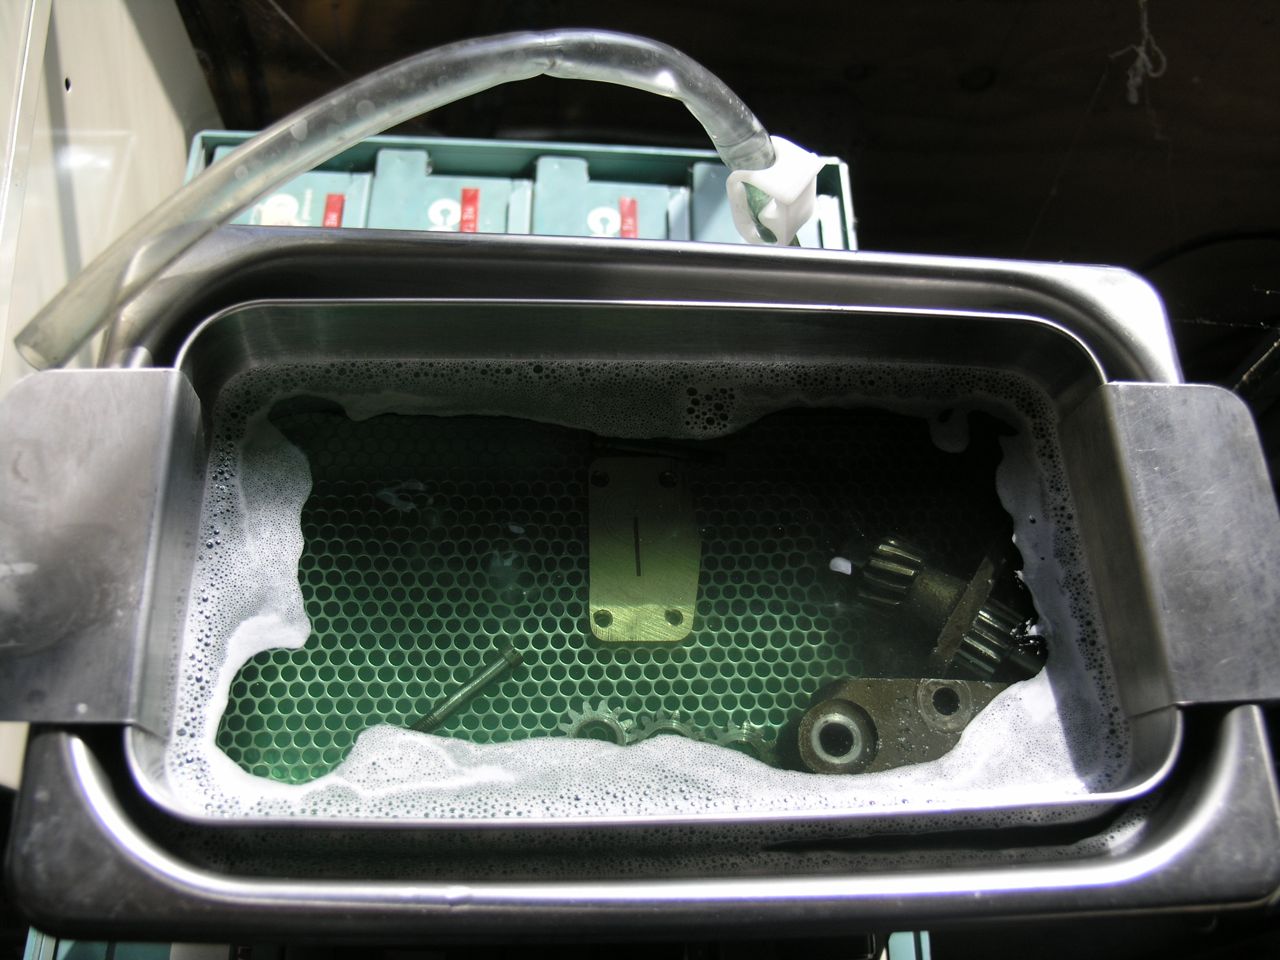
I got to use my new (well actually used) heated ultrasonic cleaner. Put the parts in for 15min and they came out really nice. The solution in the cleaner was fully of junk - and I thought the parts were pretty clean going into this. Seems like it will be great tool.
It's most important to correct end float on the narrow (feed) gears first.
3) Remove the feed gears and rub down the back plate end fo the pump body (not the back plate itself) using a surface plate or sheet of glass as flat surface and high quality emery cloth. Using a figure 8 pattern, checking for end play. What you're looking for is when on reassembly of the pump, there is barely discernable stiffness on the oil pump drive spindle. This indicates there is just sufficient freedom fo movement and no excess clearance between the gears and the housing.
NOTE: You can pull the little outlet ferrel from the body -its a press fit - so you can rub down the feed side with no obstructions.
4) Remove the feed gears and do the same to the return side of the pump with the return gears.
5) Strip the pump body and clean everything really well. Reassemble the pump and tighten the screws completely. At this point there should be some degree of stiffness in the complete pump. My pump screws had two punch stakes at the brass plate. I used blue Loctite and restaked them upon assembly.
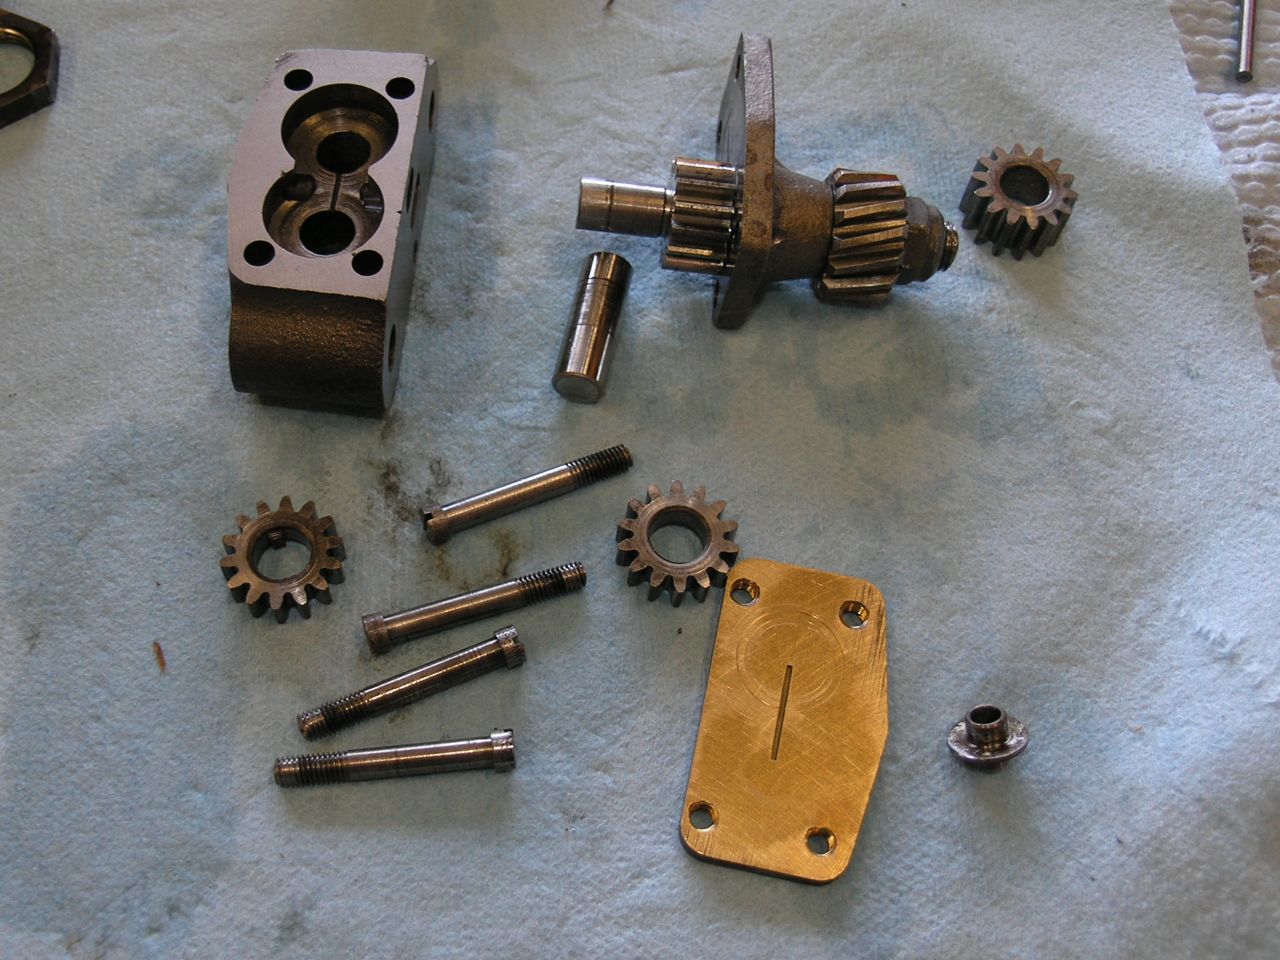
Parts cleaned and ready to go back together.
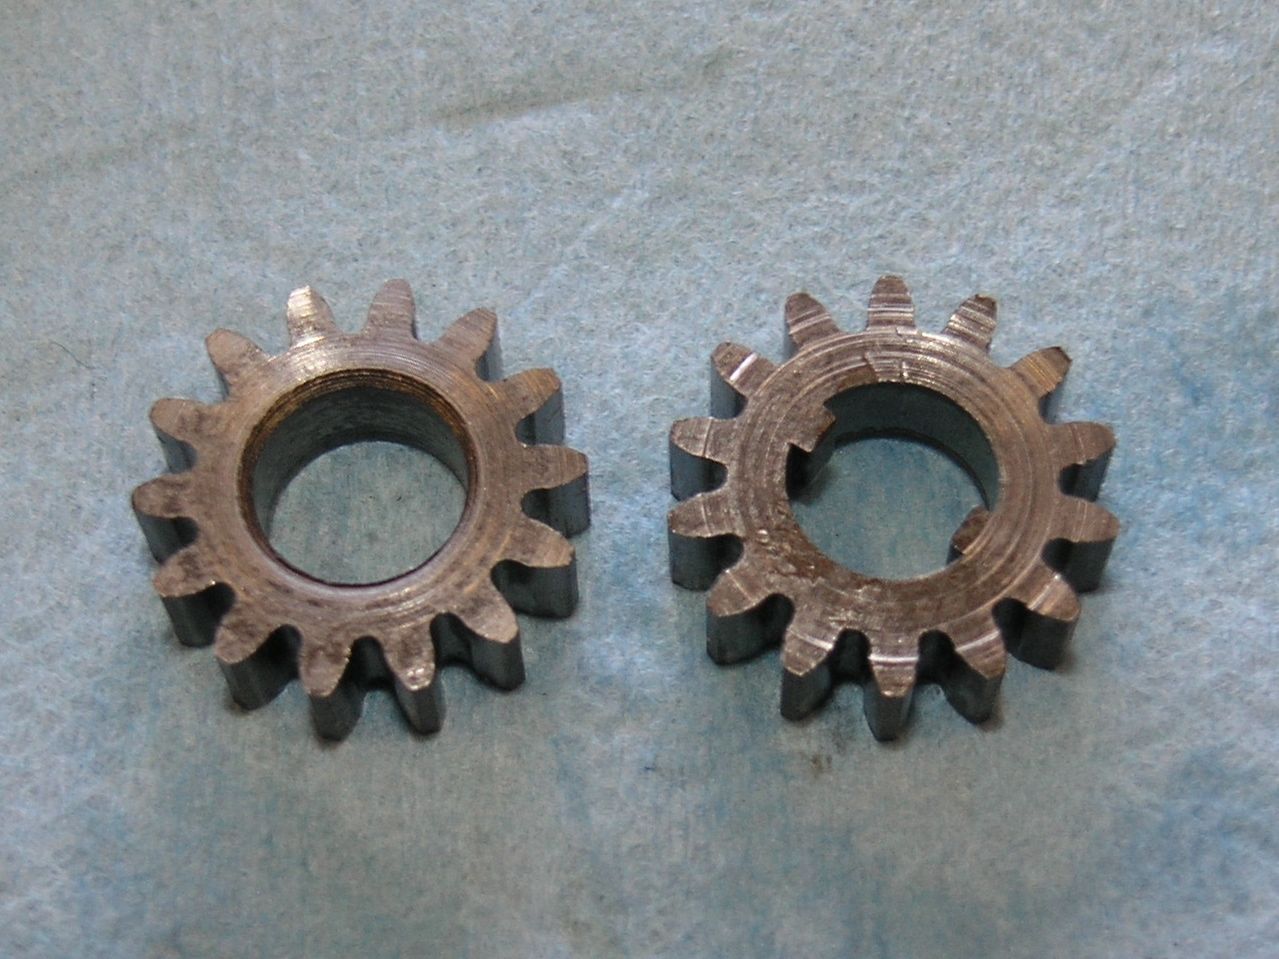
NOTE: The feed gears have a chamfer on ID - this goes inboard. You can see it (sorta) on the LEFT gear above. The other side has no chamfer and that goes against the brass plate.
6) Squirt some oil into the feed hole and turn the drive nut with a wrench, revolving the pump several times to get the oil completely circulated. The pump should now have freed up considerably. Slight stiffness should decrease or disappear completely.
NOTE: Concerning the brass backing plate. Be careful when assembling it to the pump. Make sure that the inner edge of the brass plate (the long flat edge) doesn't extend beyond the machined mounting surface of the pump body (i.e. the surface that takes the gasket). If it is allowed to it will not let the pump seal to the crankcase correctly resulting in pressure loas, wet sumping and bad karma.
A few notes on pump performance - the rule of thumb is about 10psi for every 1000 rpm. Additionally the stock pressure relief value is between 45-50psi. If you want to run higher pressures (like up to 60 when cold) you should probably be running stainless steel braided lines to help with the increased pressure. Of course to know this, you need to mount an oil pressure gauge. I'm using the Old Britts version and am very happy with it.