C14 - Dismantling Primary Transmission and Clutch
1) Remove alternator nut (1/2W). I used a 15/16" AF socket and it worked fine.
2) Make sure you get the "fan" disc washer.
3) Remove the stator. Although the workshop manual indicates it can hang on the wires for the moment, you might want to avoid that. Over the years hot oil tends to make the insulation brittle and having to repair cracked or damaged insulation here is dodgy at best.
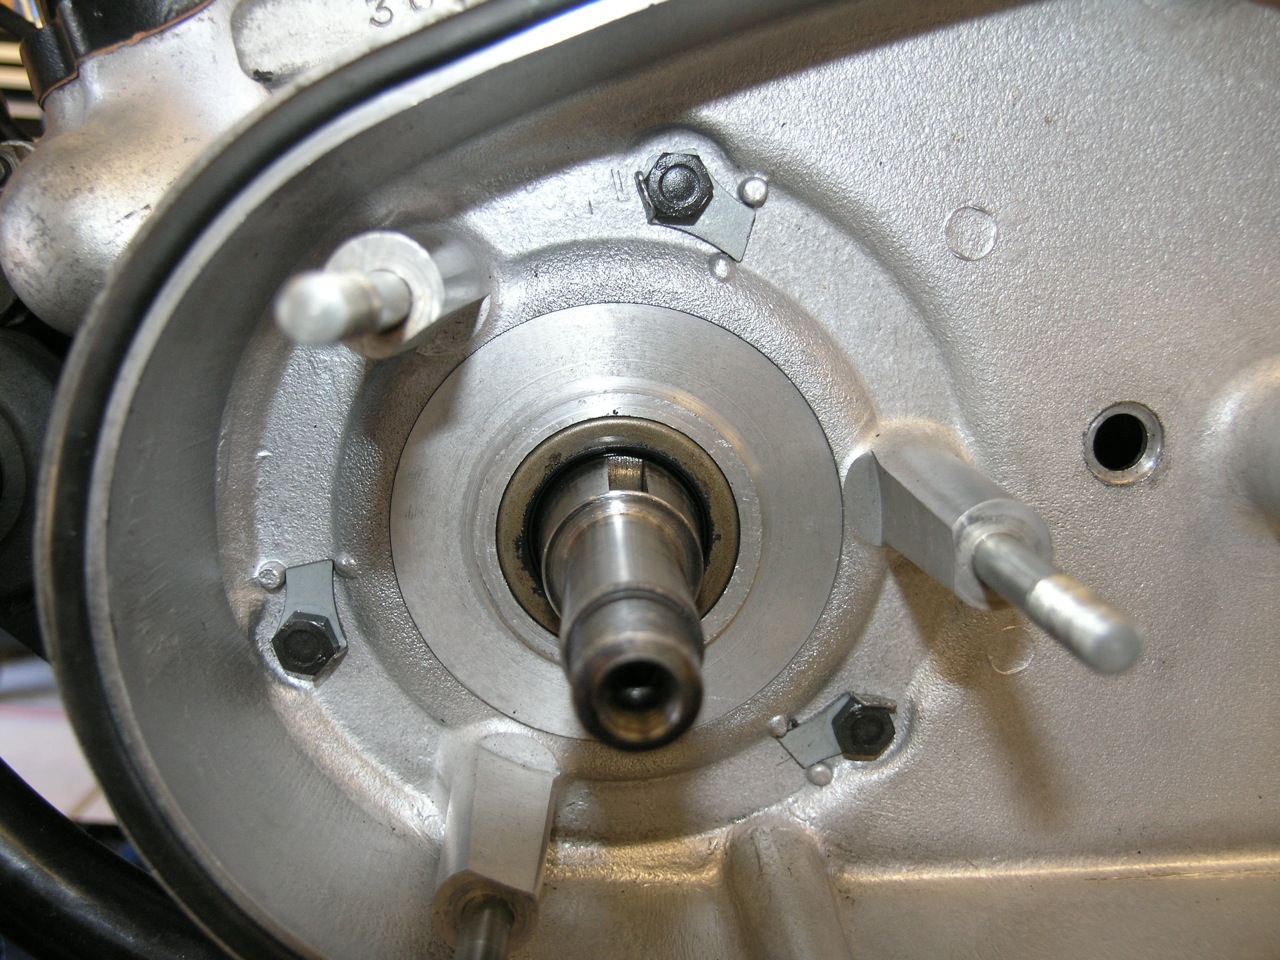
4) Remove the alternator rotor. It might be a bit tight, so you can lever with 2 flat section tyre levers (or a couple of screwdrivers). You shouldn't have to work at it too hard.
5) Remove the Stator spacers
6) Slacken the clutch push rod adjustor nut and remove the adjuster and nut.
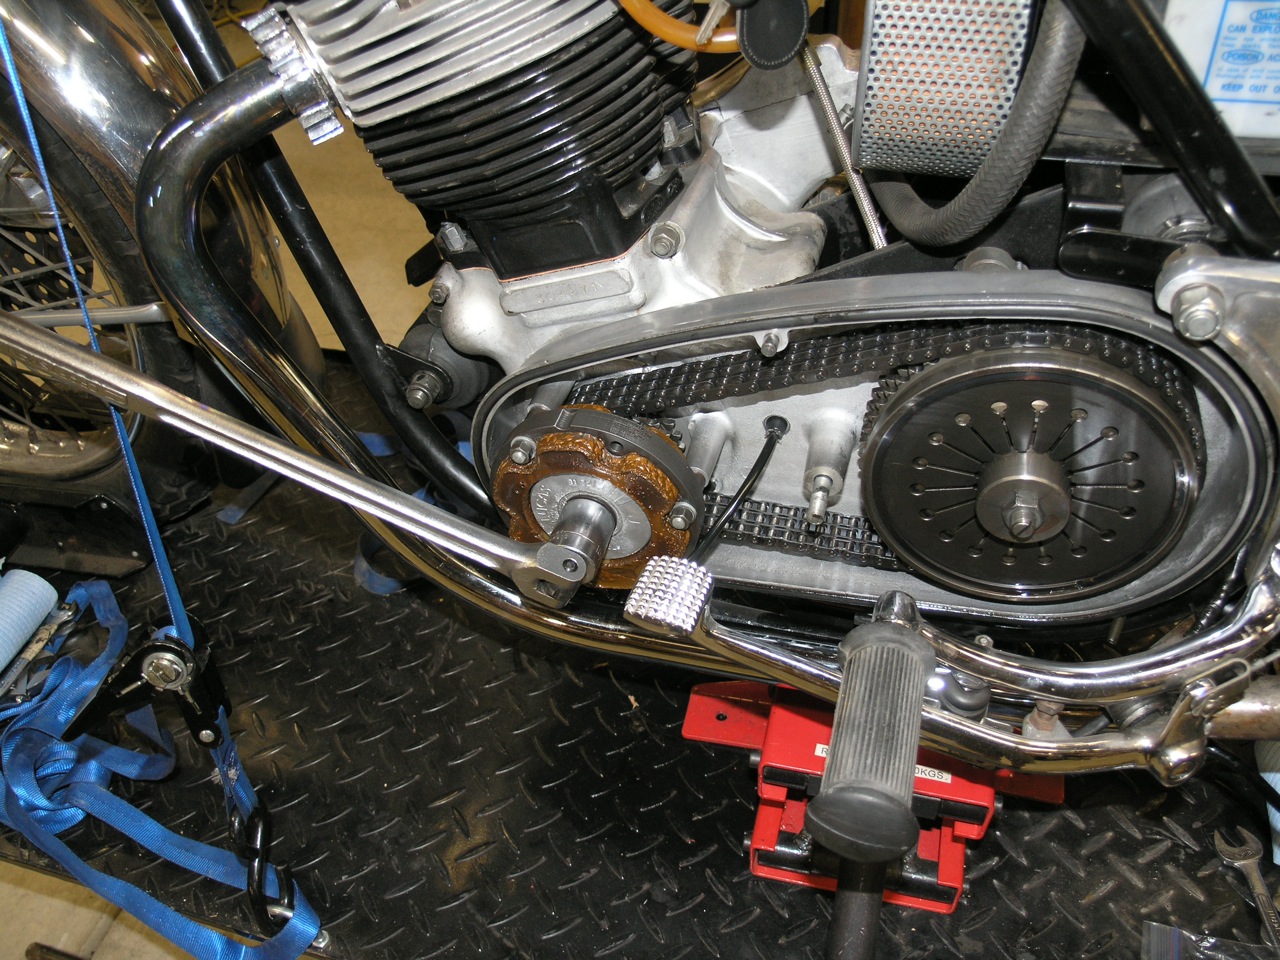
7) Dismantle the clutch. You'll need a compressor tool (Part No 060999) or you can whip up something. Here's my approach - a $5.79, apparently, 4" PVC end cap with a hole through it and bolt. I plan to "enhance" this at some point by adding a fully threaded bolt and nut so I can remove the pressure plate after disassembly.
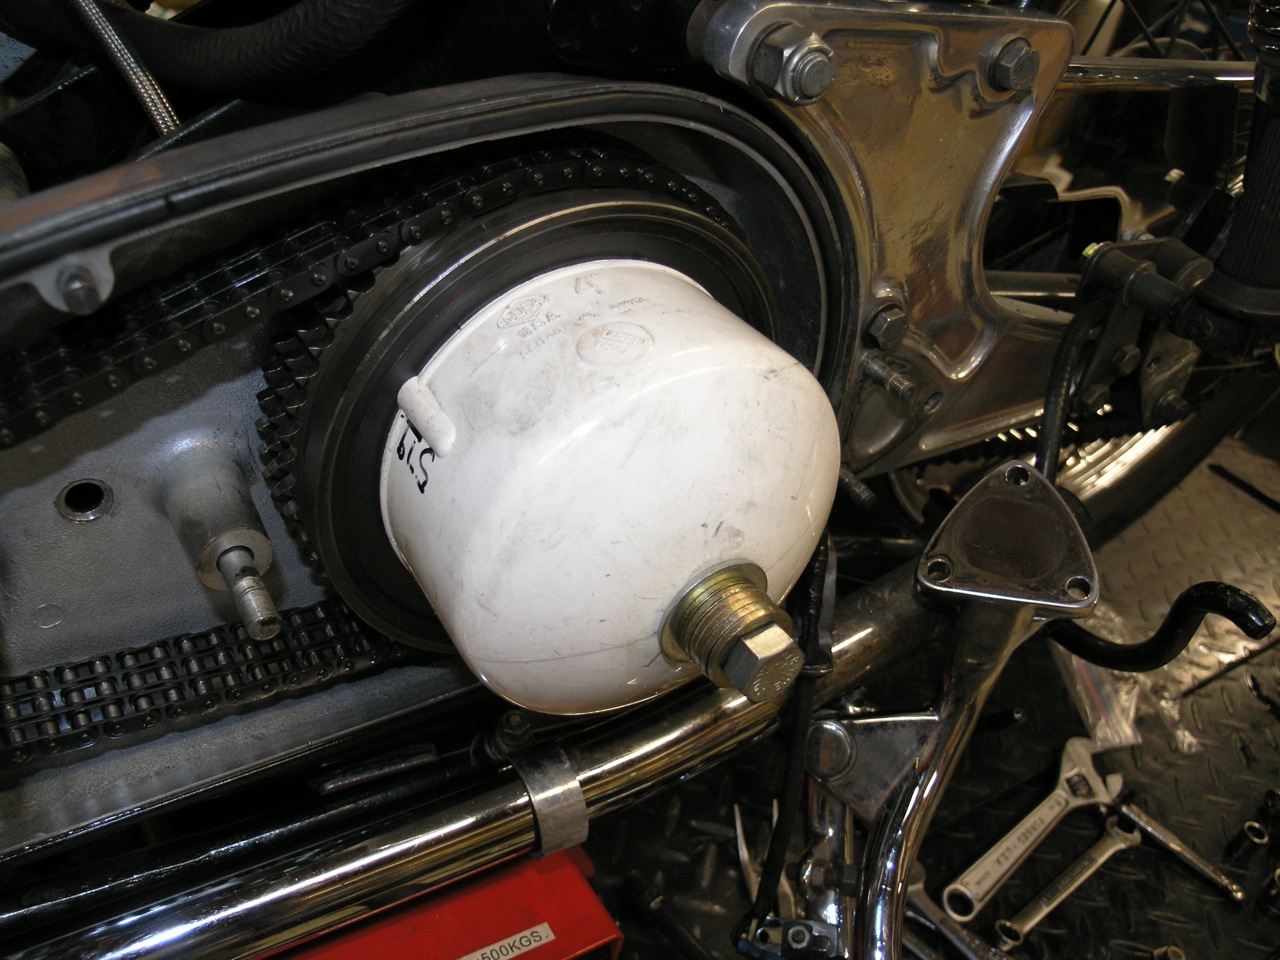
I got a question as to how this thingy works. Basically you need a way to pull the diaphragm center out, or away from the discs to release pressure on the discs. The diaphragm is concave shaped and you're basically trying to pull it into a flat shape. When you do this, the diaphragm no longer pushes on the discs and therefore will become loose and you are free to remove large retaining circlip. I didn't have the correct Norton tool, so I made this one, the bolt in the center will pull the diaphragm center away while the edge of the cap presses against the outer edge of the diaphragm. As you can see - I needed to shim the bolt up with a stack of washers as the one I had was too long.
See a better explanation about clutch operation from Dyno Dave at http://atlanticgreen.com/ndnsclutch.htm
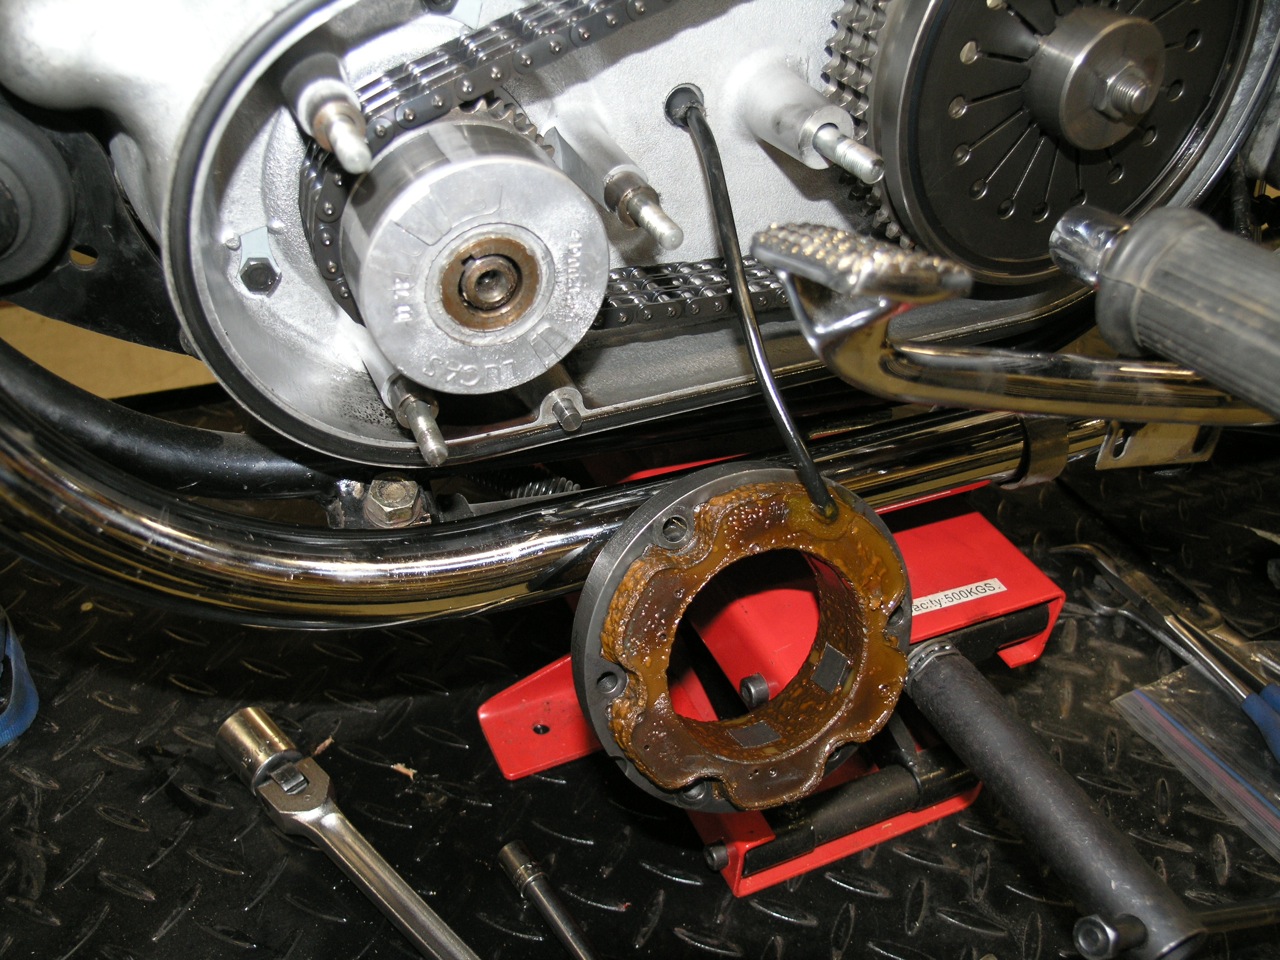
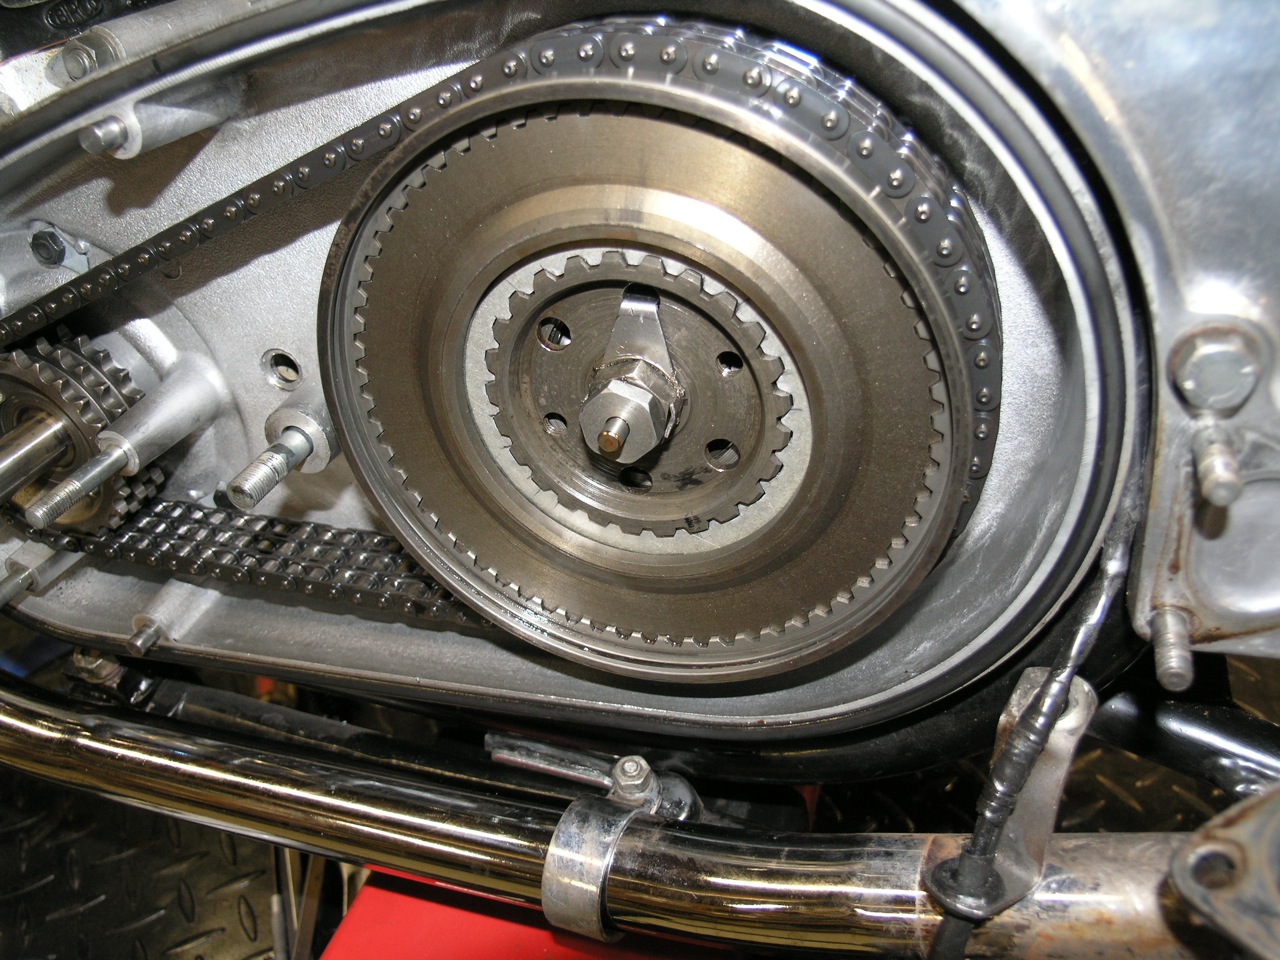
9) Compressor tool and diaphragm can now be removed
Upgrade: I installed Dyno Dave's Clutch Rod Seal (see http://atlanticgreen.com/store.htm) last time I was in here and it looks great. A highly recommended upgrade.
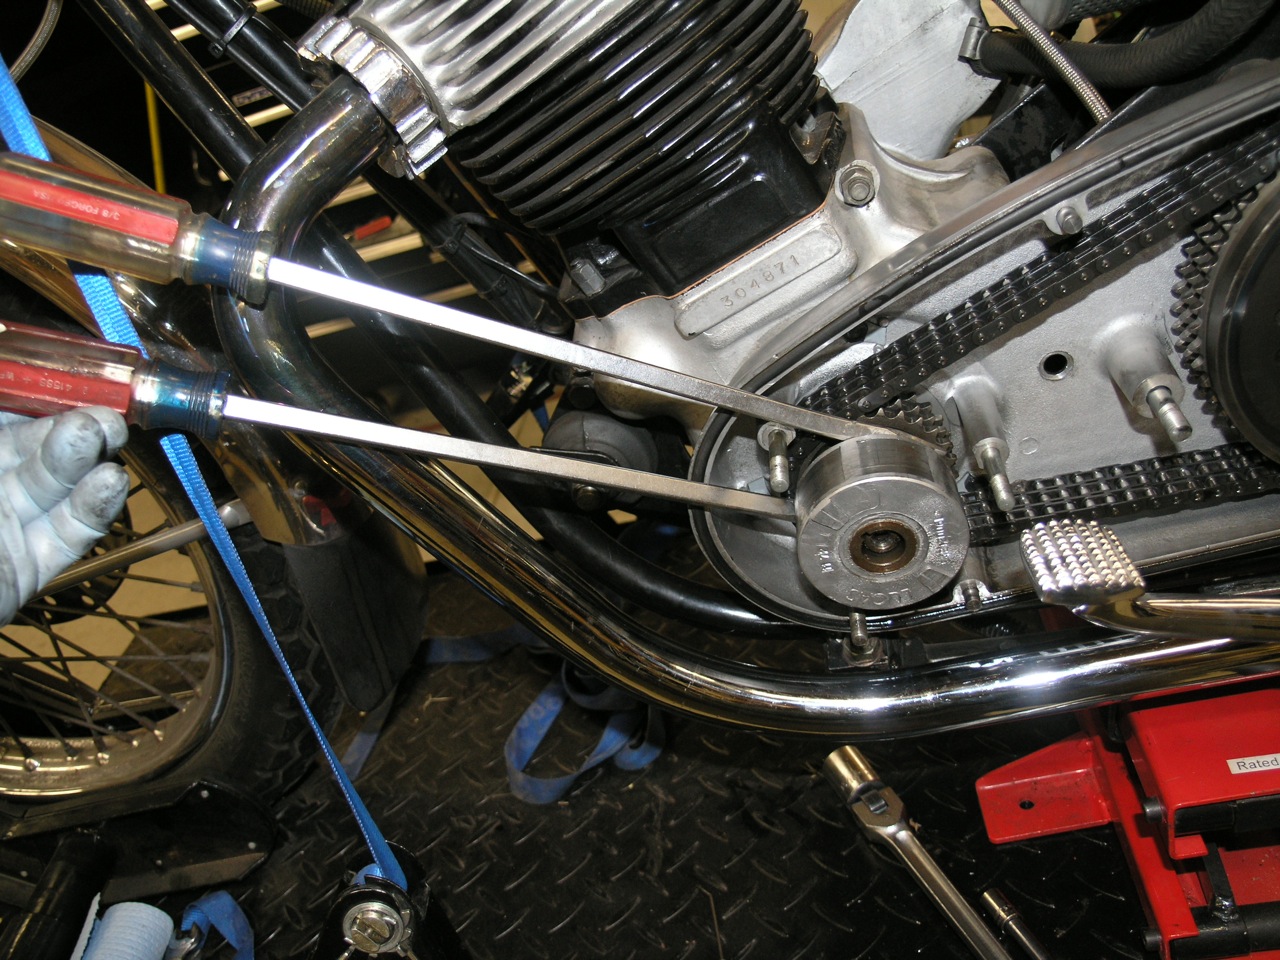
10) To remove the clutch center nut, bend down the tabs on the tab washer and then remove the nut. To remove the nut, lock the clutch by temporarily attaching the rear brake pedal, putting the tranny in gear and applying the brake while loosening.
11) Remove the engine sprocket, chain, and clutch basket as a set. You'll have to use an engine sprocket puller to get the engine sprocket off the crank taper. Make sure you fully engage the bolts for the puller in the sprocket. Load up the puller, then shock the side of the sprocket with a soft metal drift to break the joint.
12) As such:
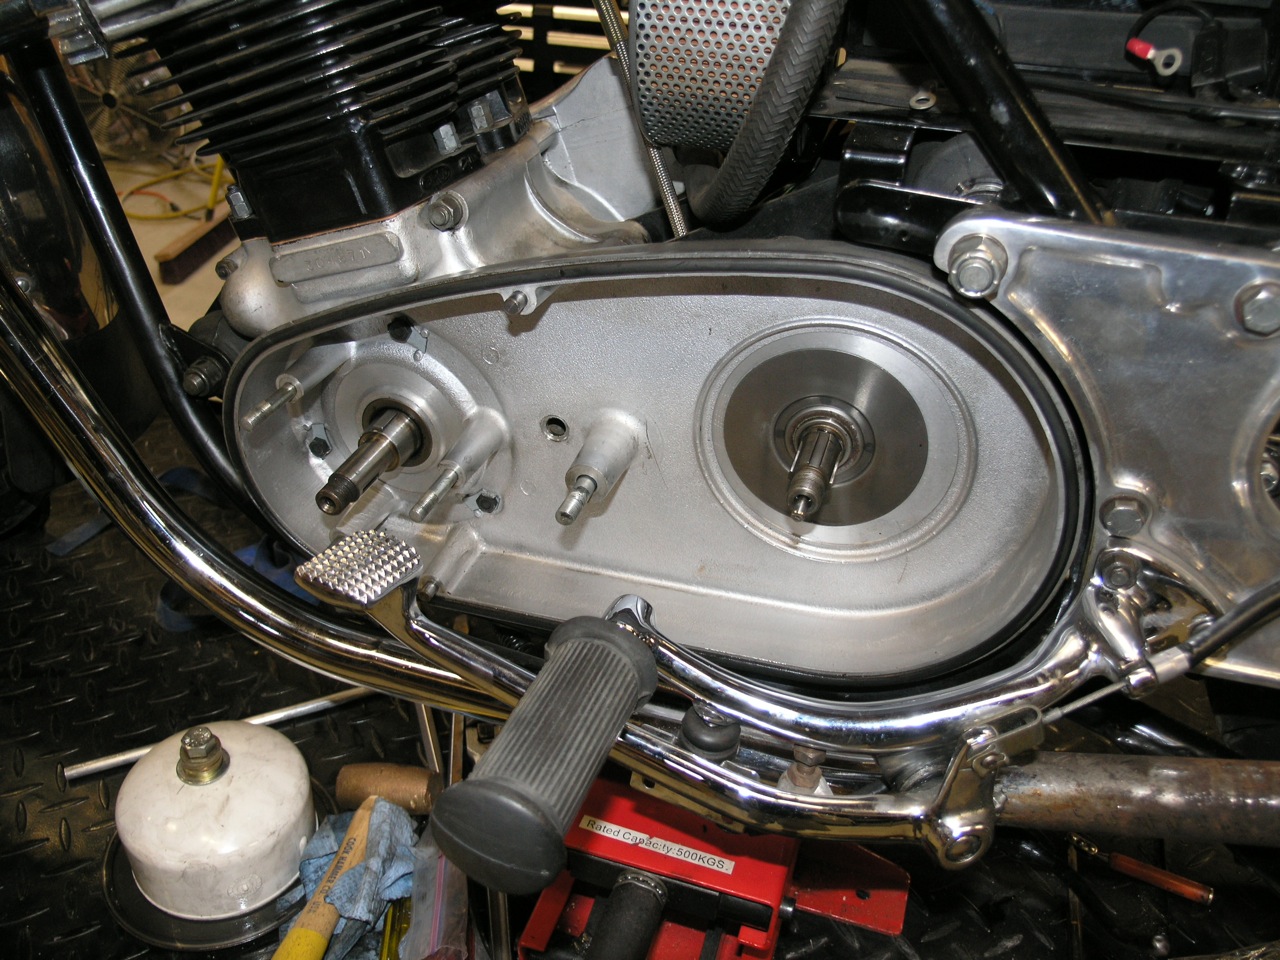
13)Make sure you retrieve the collar and spacers that are behind the clutch basket. These affect the alignment of the primary chain and must be verified upon replacement.
14) Remove the 3 inner primary bolt with tab washers. You can leave the stator cable in the case or remove it.