I have a bone stock '75 MKIII with less than 4K original miles. After reading about the catastrophic layshaft bearing failures common to the AMC gearbox and especially on the later Commandos, If you don't know wha't in yours - I suggest to determine this immediately! It can KILL you.
According to L.A.B.:
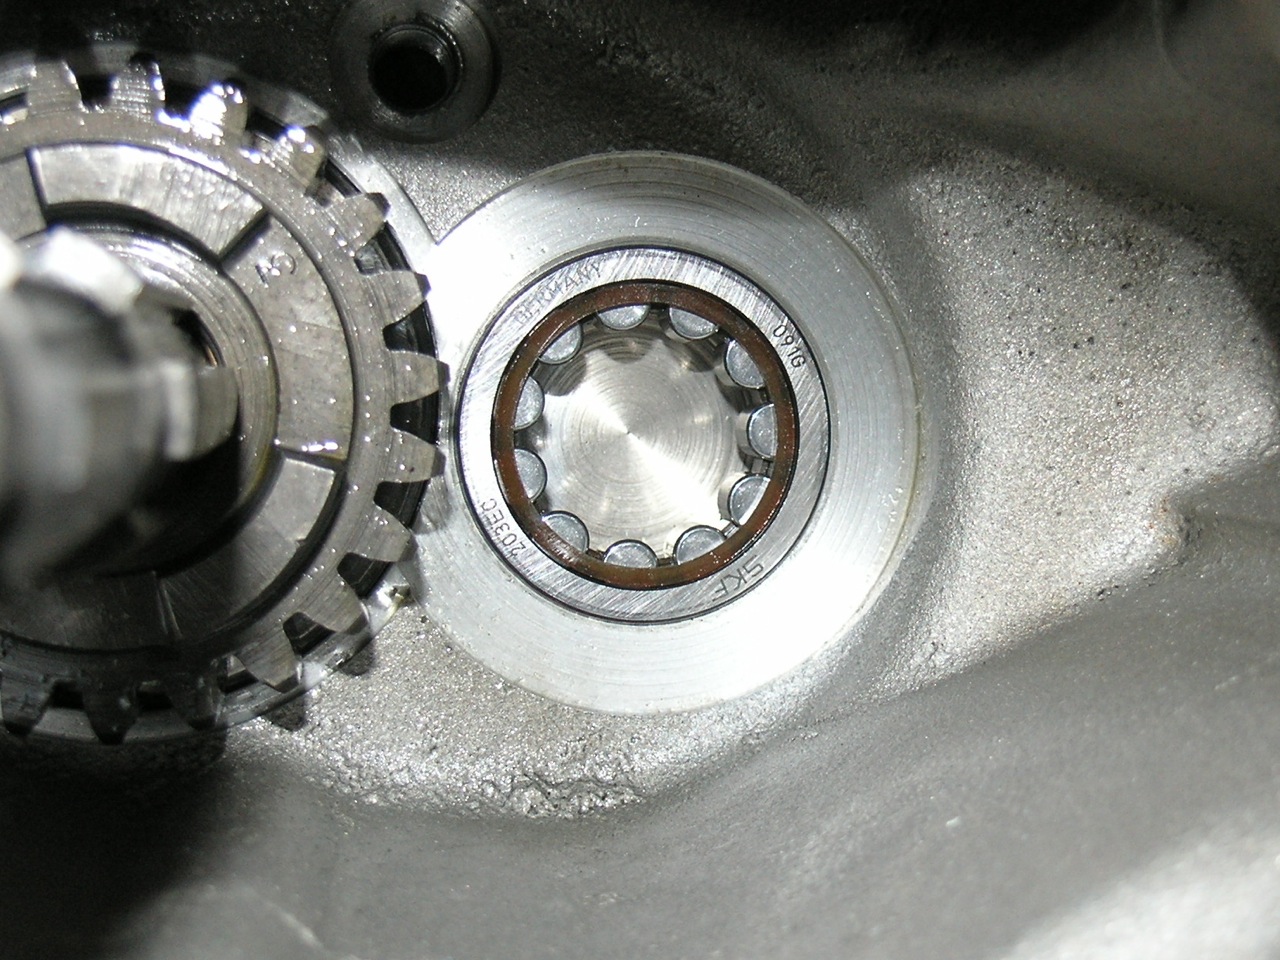
If you find any rigid (steel or brass) caged "6203" layshaft drive side ball bearing, then it would be wise to replace it...
There are at least 2 great references for this procedure - the OldBritts site and the Mick Hemmings video.
OldBritts -
Disassembly - http://www.oldbritts.com/gearbox_d.html
Assembly - http://www.oldbritts.com/gearbox_a.html
Checklist - http://www.oldbritts.com/gearbox_checklist.html
Bracebridge Street Depot - INOA's sales site
Mick Hemmings Video - http://www.bracebridge-street.com/tech.htm
As for replacement bearings - make sure you get one from someone who knows Nortons. You can get a roller or ball type.
Layshaft Bearing numbers:
Mick Hemmings prefers FAG 6203TB polyamide cage ball bearing
CNW and others recommend a NJ203E roller (C3 if you really want to) with single lipped inner spool, the lip of which, must fit against the layshaft high gear.
I got nervous and decided to inspect and replace this bearing. Since I had recently had the primary apart, I didn't want to pull the transmission, so decided to attempt it in-situ. Since this bike is low mileage I didn't expect to find any issues with bushings, gears or other bearings. Your mileage may vary. Here's what I did.
The Procedure
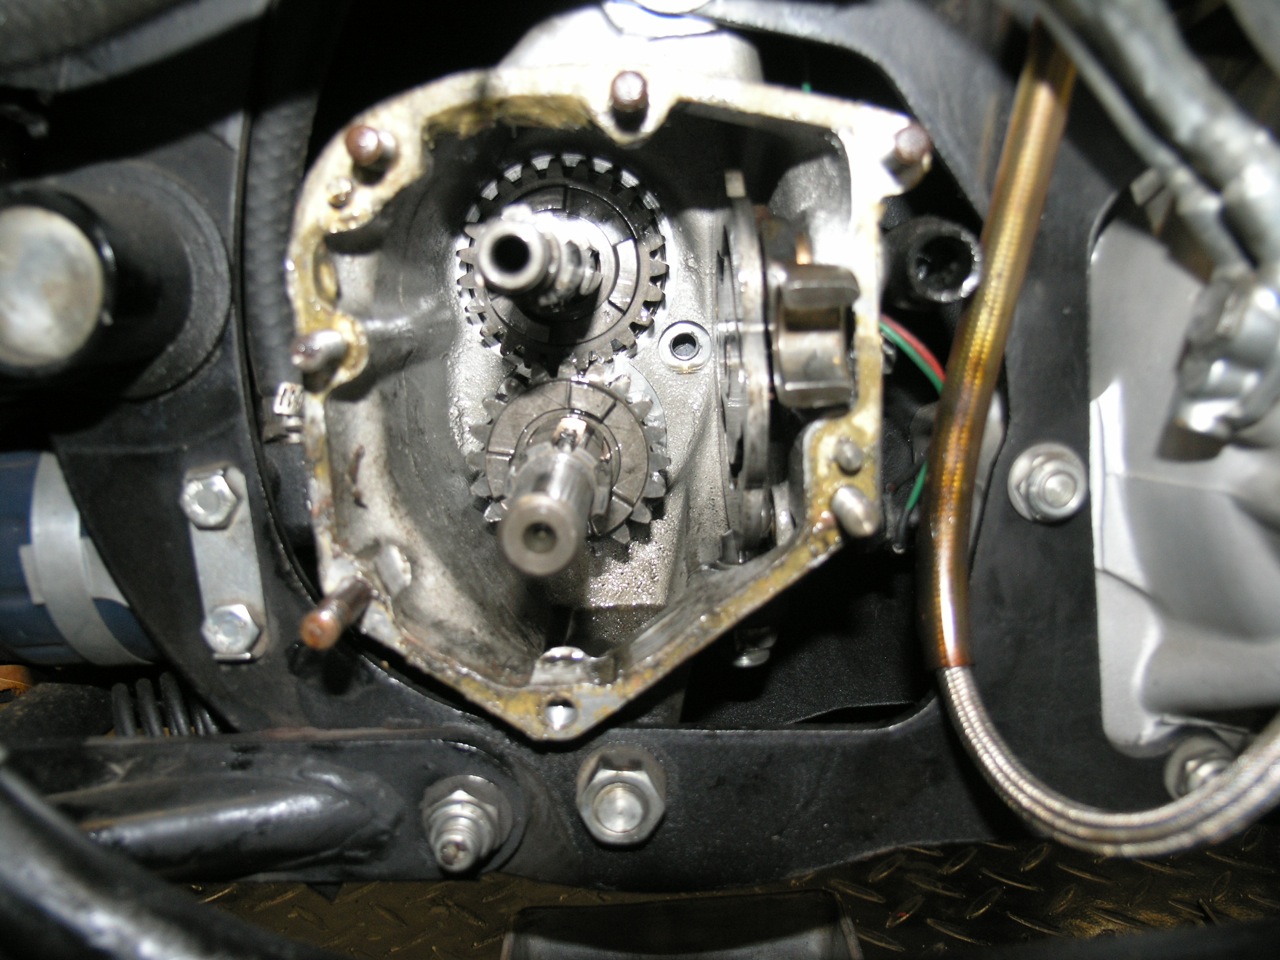
1) Section D3 - Removing Gearbox Outer Cover
2) Section D4 - Removing Gearbox Inner Cover
The next section in the manual (Section D5 - Dismantling Gear Cluster and Cam Plate) isn't too relavent to the layshaft upgrade - especially while the gearbox is in the bike.
3) Remove 1st gear set
4) Remove 2nd gear set and selector arm and selector shaft.
5) Remove 3rd and 4th gear mainshaft with it's selector. You'll be leaving the 3rd and 4th lay gears and the sleeve gear.
NOTE: Don't mix up your selectors. Mark them in some way.
6) Now comes the interesting part - removing the bearing. If you have the original ball bearing the layshaft should be held in the case. If it's been upgraded to a roller type, then the layshaft will probably come out with the race on the end, leaving the bearing in the case. You'll have to heat the case to get either of them out. If you are unlucky, the bearing might be loose in the case and you'll have to come up with a suitable remediation upon assembly (JB Weld is mentioned quite frequently).
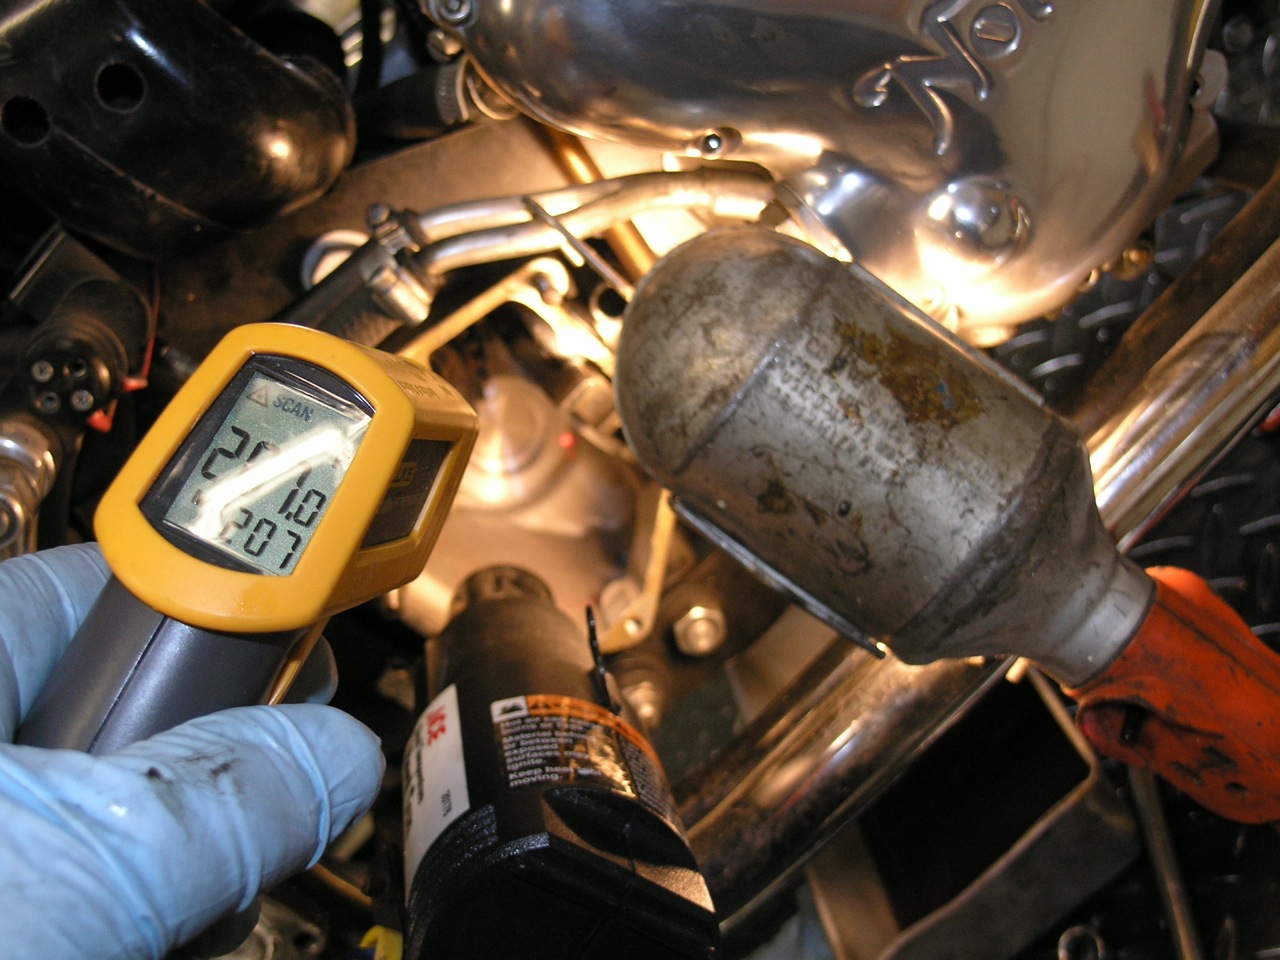
7) To heat the case, I mounted a 1200 Watt heat gun on a stand, aimed it at the back of the case, and let it run for a few minutes. I then dismounted it and just hand held it to move it all around the bearing area. I used an infrared temp gun to check progress. (The picture below, the temp is only at 68).
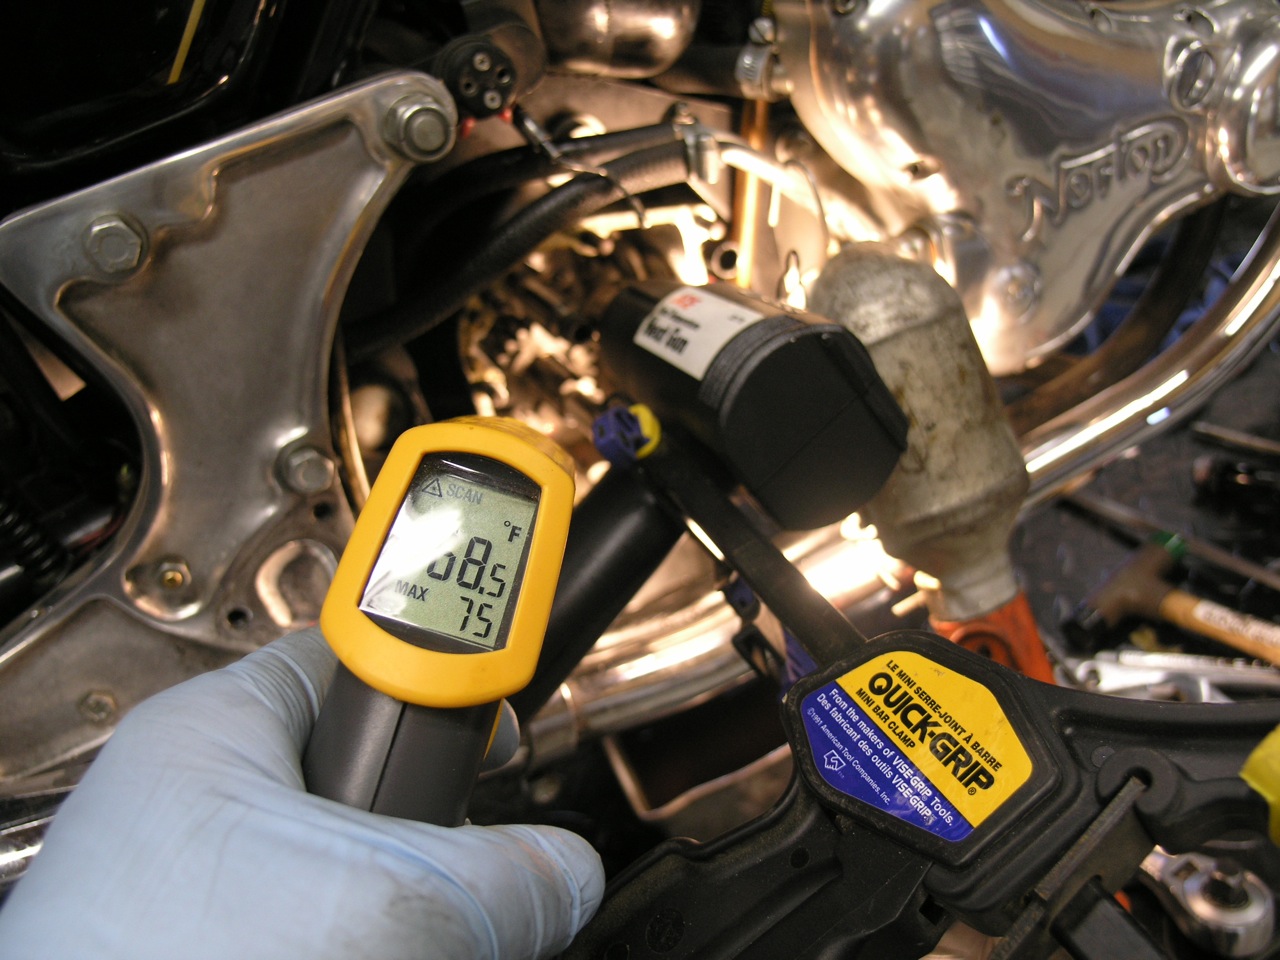
At about 200F indicated, I tried pulling the layshaft out and it came easily. I felt very elated at that moment.
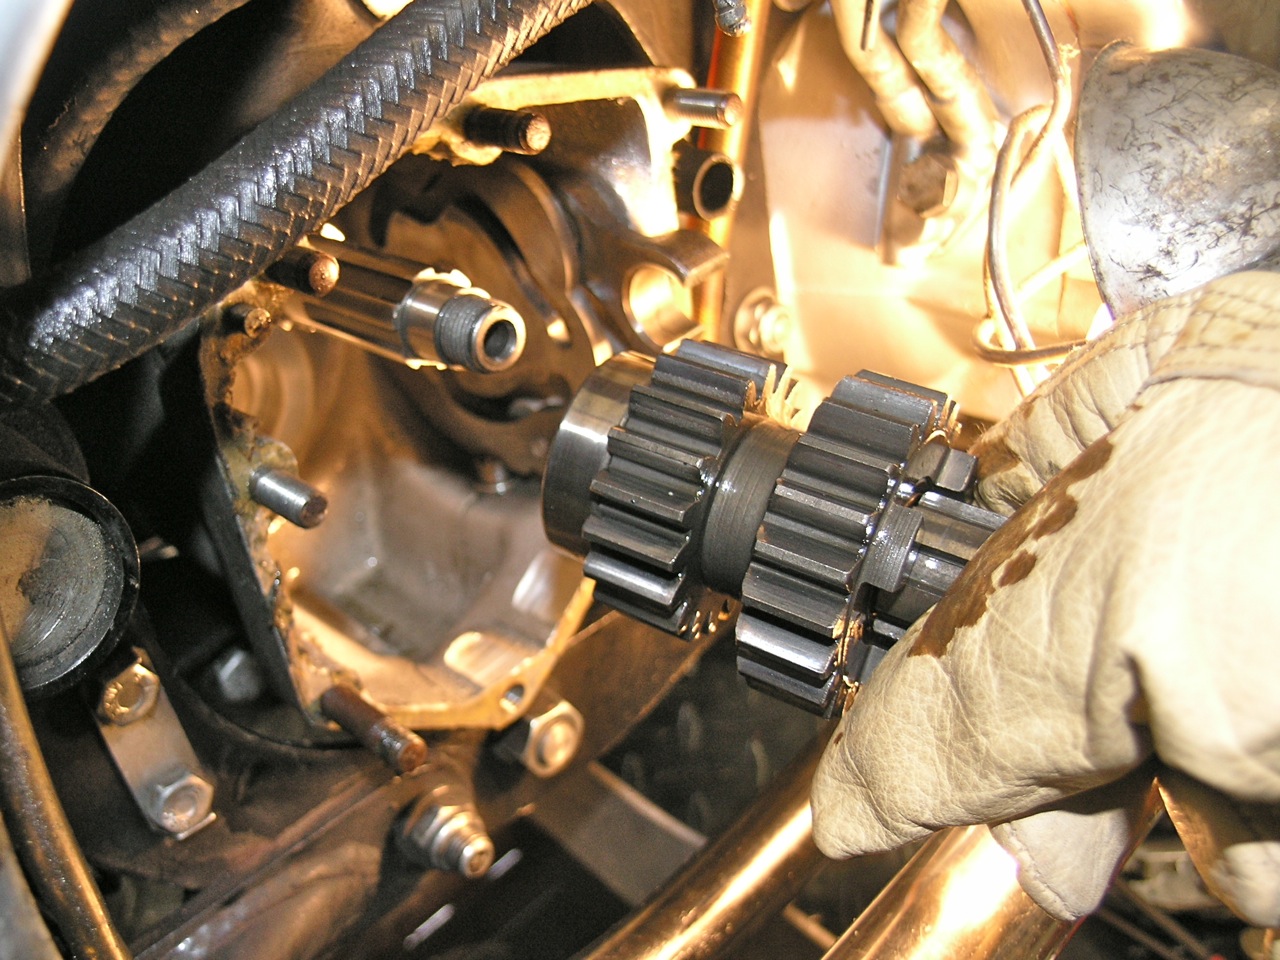
NOTE: Remember to wear a glove! The layshaft will be hot.
Free at last.
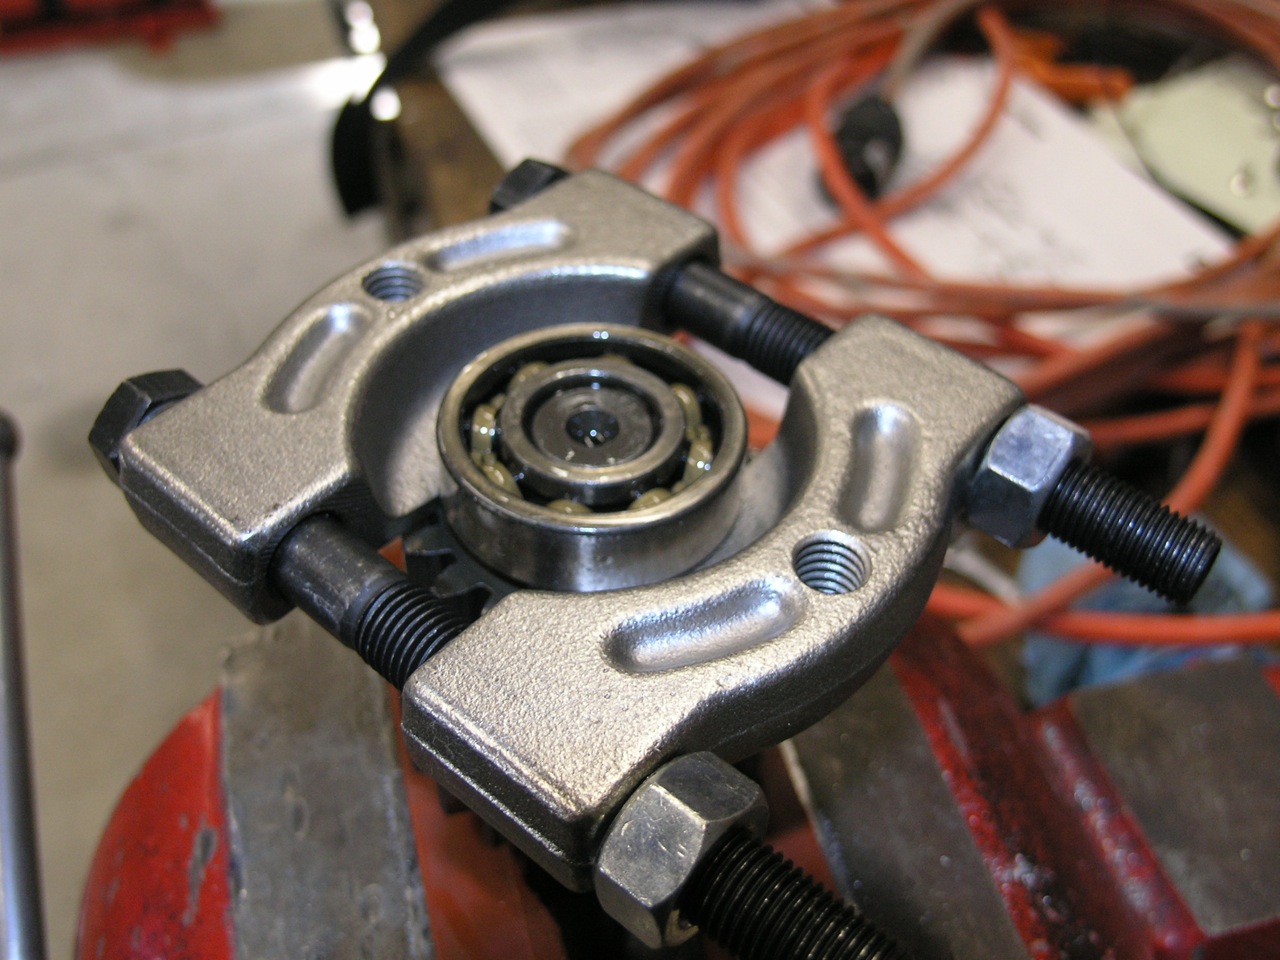
I then had to remove the bearing from the layshaft using a puller.
8) Clean and inspect everything paying attention to the bearings, gear teeth and starter pawl. I my case, the transmission internals looked pretty much brand new, so I'm not replacing anything.
9) Insert new race on layshaft
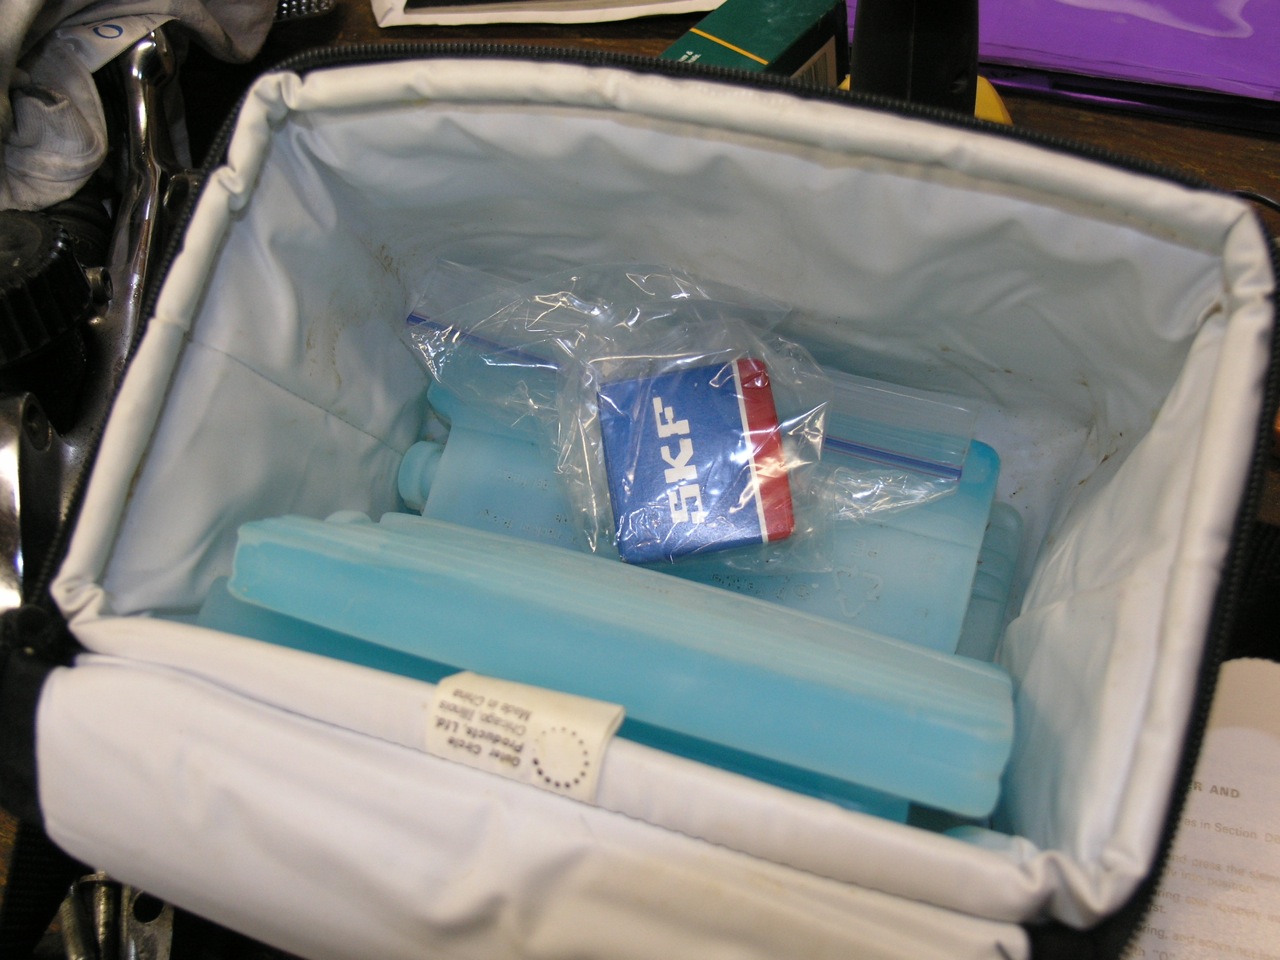
10) Place the new roller bearing in the freezer for a while (overnight). I put it in a small cooler sack with ice packs for the shop while I was reheating the case.
11) Reheat the case, back to about 200F
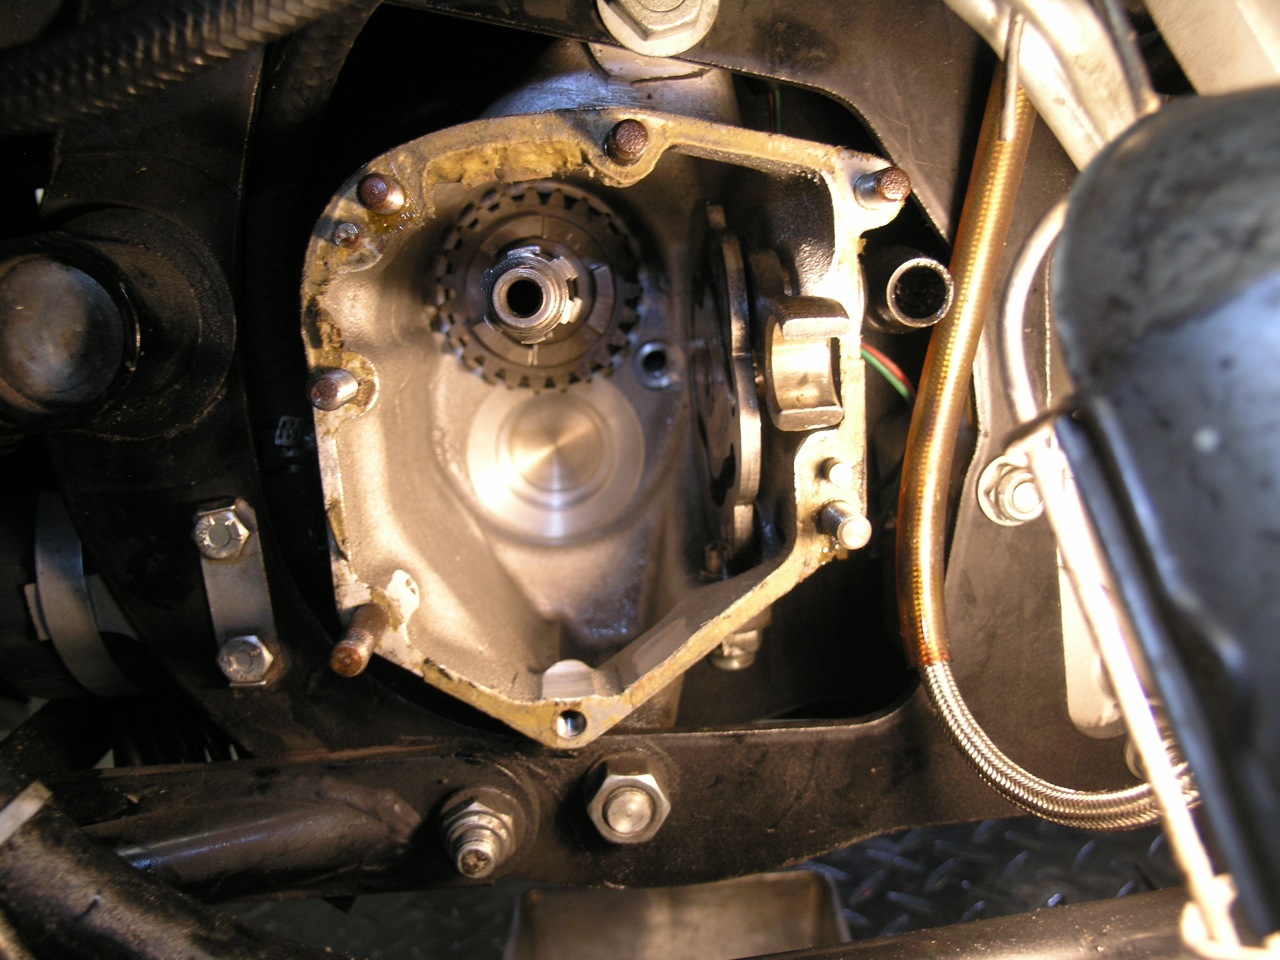
12) Put the bearing on the end of the layshaft and using that as a tool, insert the cold bearing into the hot case. Do this carefully as if it turns out to be a tight fit, you don't want it to go in crooked. WIthdrawn the layshaft (the bearing should stay in the case) and make sure the bearing is all the way home.
13) Replace the gears, selectors, and selector shaft.
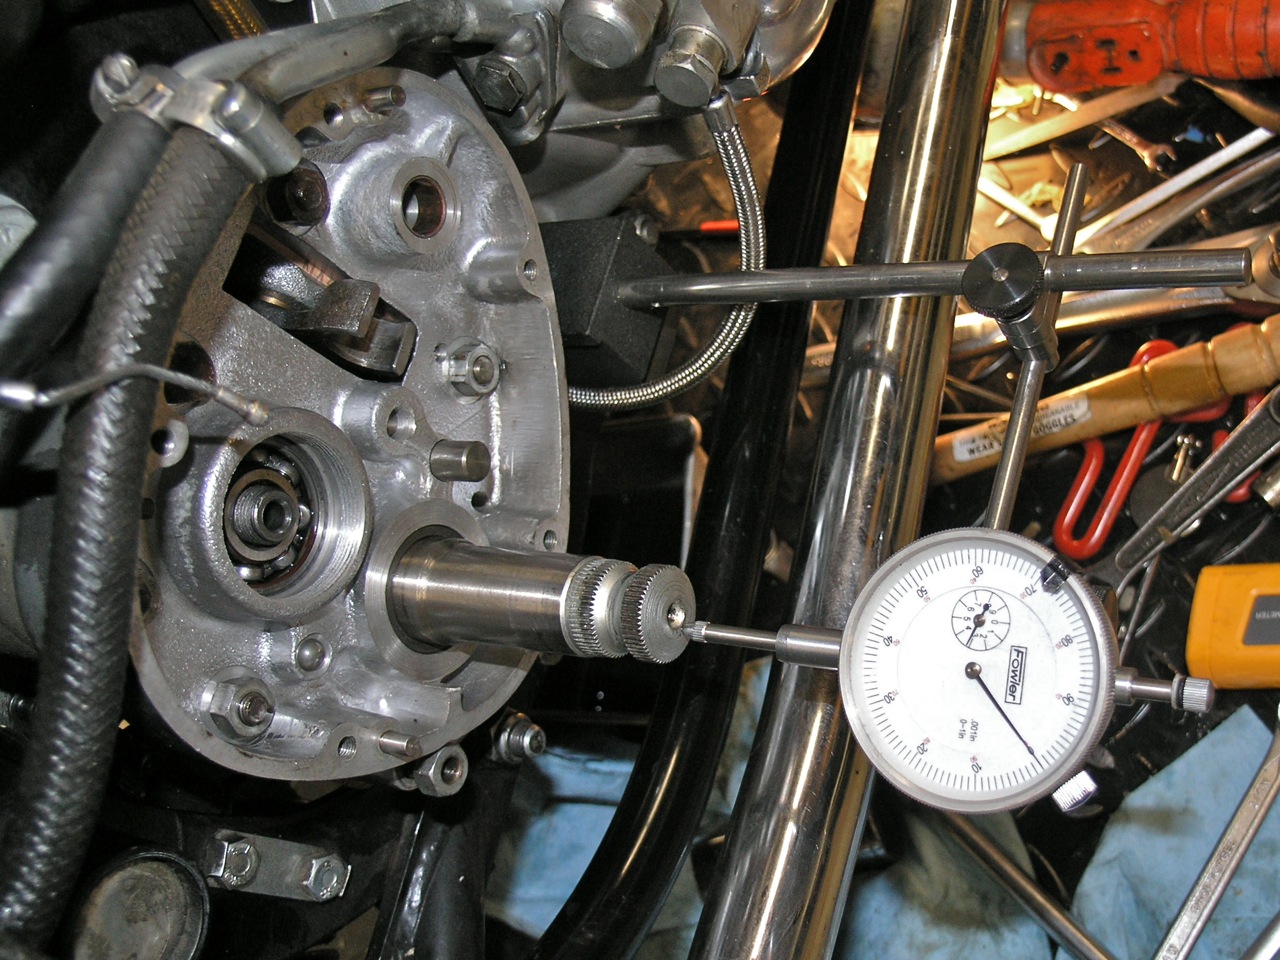
If you've used a roller bearing, you'll need to set the end float. The OldBritts tech article covers this pretty well. I used a 0.005 + 0.020" shim to achieve a 0.009" end play. I did have to grind the ID of the shims to fit past the fillet of the shaft. Dremel to the rescue!
14) Section D10 - Refitting Gearbox Inner Cover
15) Section D12 - Refitting Gearbox Outer Cover
16) Replace the riders foot peg. (MKIII - it's footpeg and brake master.). Remember to reattach the Zener ground to the nut on the foot peg bolt. on pre-MKIII bikes.
17) On the MKIII's, bleed the rear brake.
Notes:
This is the original dreaded Portugese bearing. Apparently these Portugese FAGs are really prone to falling apart. The race apparently can't handle the axial loads and eventually fails letting the balls out. When that happens the transmission locks up and you can't do a thing about it. If you're at 60mph - it can be terminal.

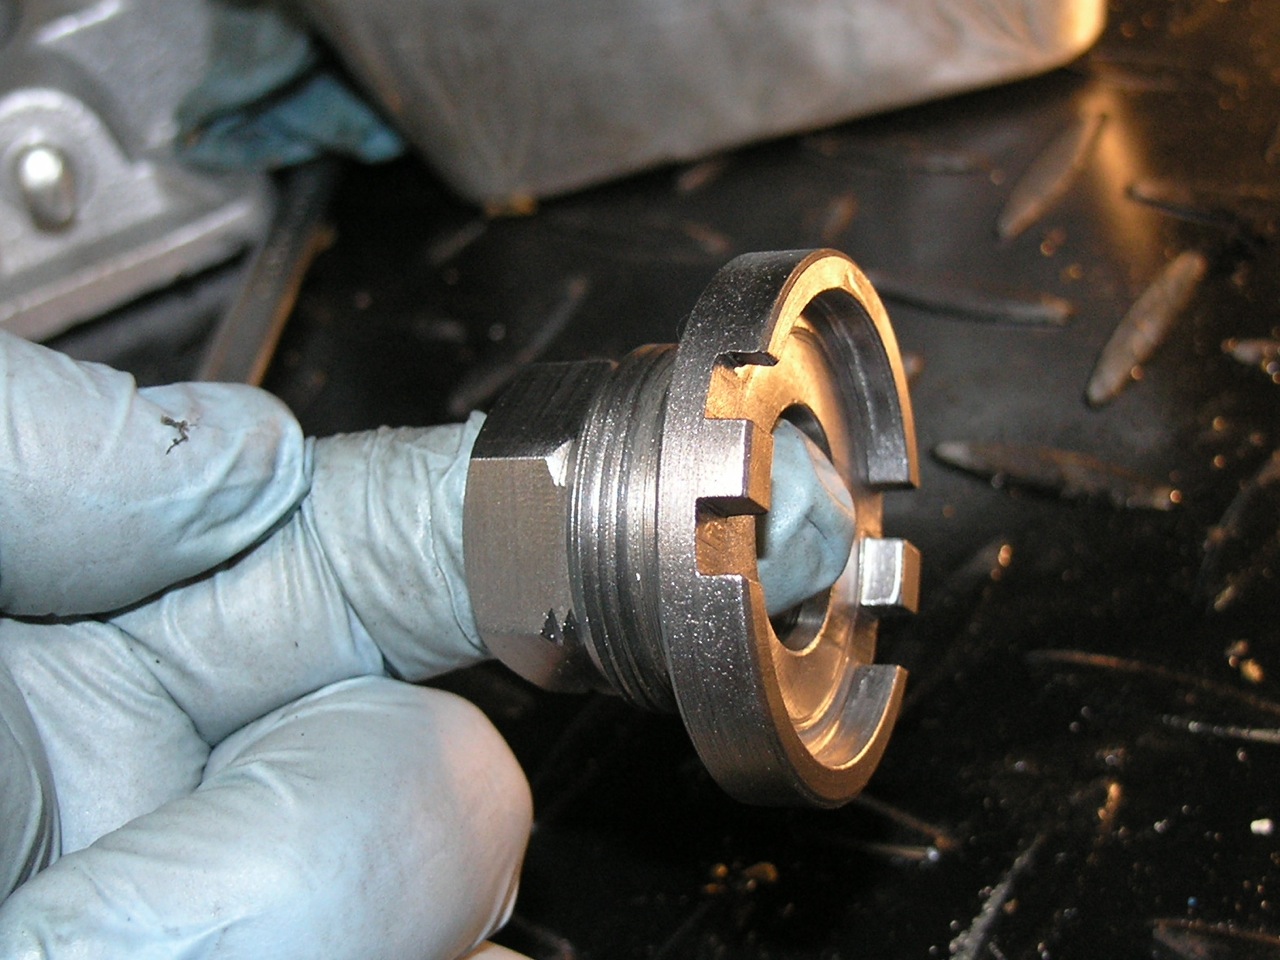
Here's the tool I made based on the OldBritts tool. I'm getting better at using my rotary table!
Parts:
| Qty | Part Number | Desc | Notes |
| 1 | 04-0030 | Inner Gasket | |
| 1 | 04-0055 | Outer Gasket | |
| 1 | 06-7710 | Layshaft Bearing |
I got an SKF Roller from CNW. Mick Hemmings sells the high grade ball. |