Section H6-Removing and Refitting of Front Wheel (Disc Type)
Removal
Support the bike so the front wheel is clear of the ground. You won't have to do much with the front brake fortunately.
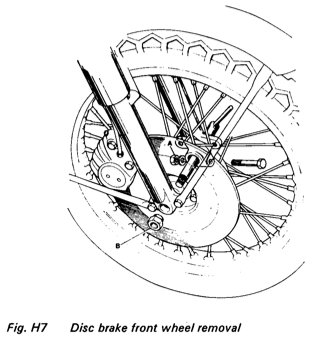
1) Remove the pinch bolt (See Fig H7)

2) Lift up on the front wheel to take it's weight and remove the axle using a tommy bar. Pull it straight forward to clear the disc brake pads.
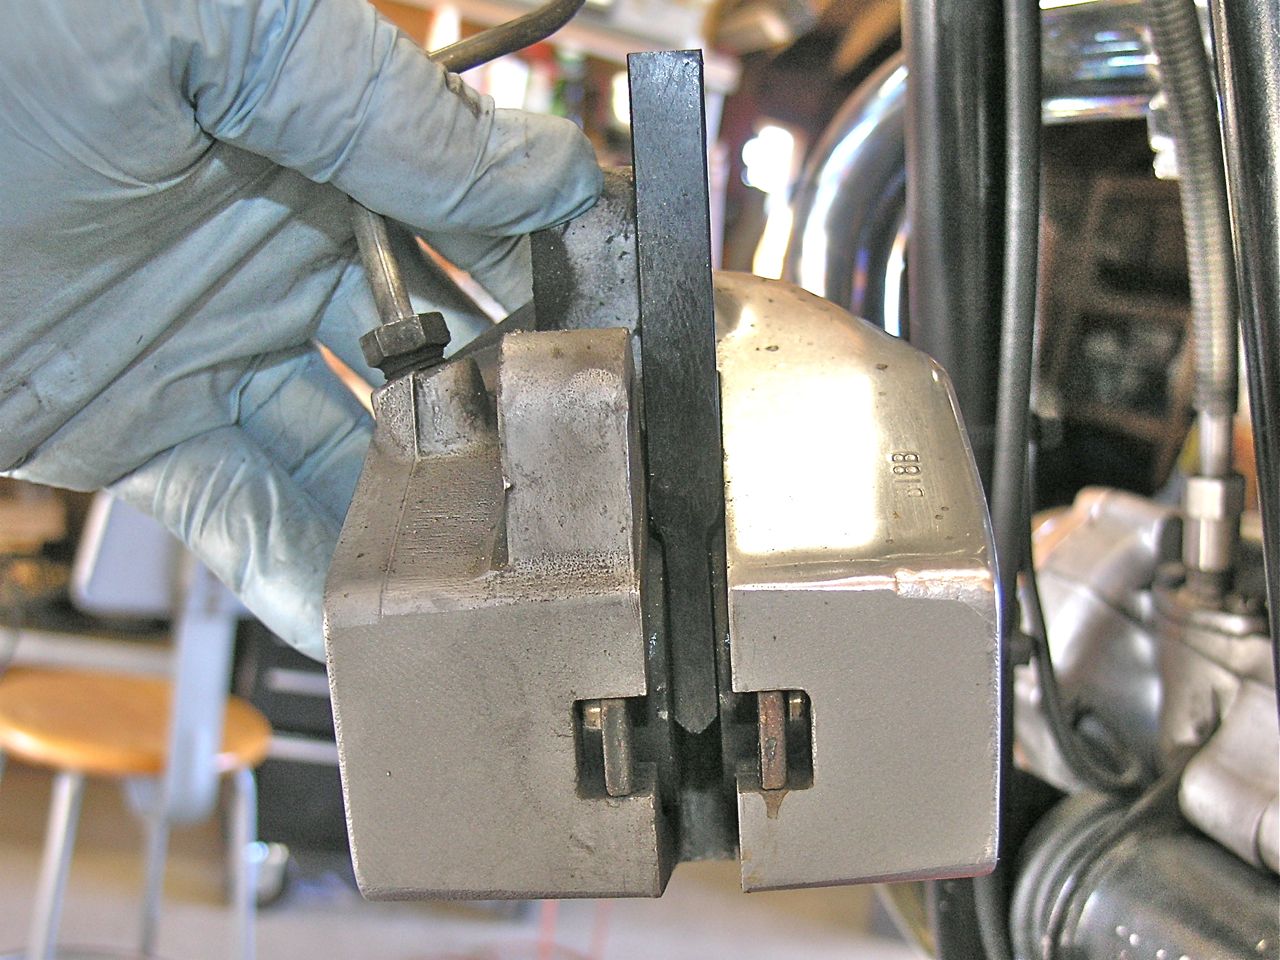
3) To prevent the pads from falling out or being pushed out by inadvertent front brake operation, put a spacer (0.250") between the pads. I made this one out of Delrin.
4) Collect the wheel bearing dust covers to prevent loss.
Refitting
5) Offer the wheel, with both dust covers in position, and carefully guide the disc between the pads.
6) Grease and engage the axle from the left side.
7) Before tightening the fork end clamping nut, compress the forks a few times to centralize the fork legs on the axle.
8) Tighten the pinch bolt at the bottom of the left fork slider. DO NOT OVERTIGHTEN as the casting will crack or break off and destroy the slider.
9) If the fork action is stiff, loosen the axle nut and the pinch bolt and move the forks up and down to centralize. If that doesn't do the trick, loosen the fender stay bolts, move the fork up and down to centralize.
No adjustment is necessary for the front brake, just apply several times to refill the caliper and restore brake pressure.